Showing posts with label Nail Tip Guides. Show all posts

Tuesday, March 27, 2012

Chevron Nails


Nail tip guides are awesome to have around. This was easy to do and I think it looks really cool! I have tried to do scotch tape mani's and I suck at them, so I will stick to free-hand stuff or use french tip guides.

I started with a base of Sally Hansen Complete Salon in Madame X - this is a very bright hot pink creme leaning towards orange. I couldn't take 1 non-fuzzy photo of it, as my camera doesn't like these types of bright pinks.

I used chevron french tip guides that I purchased in a nail art set from The Dollar Rama ( Canada ) and used Sally Hansen Complete Salon polish in Trouble Maker - a very pretty medium purple creme. I picked up both of these polish's on the bargain rack at Walmart for $1.00 = SCORE!!!!!


I am resisting the urge to trace over all the line with a fine silver glitter stripe nail art polish......

3 coats of Sally Hansen Complete Salon Madame X

Kiss nail tip guides.... HERE is the set I found these in 

  I applied the nail tip guides to my nails........

Then added 2 coats of Sally Hansen CSM Trouble Maker

 when the polish was 'sorta' dry I peeled off the nail tip guides, then added a coat of TC. I definitely will need 2 coats of top coat for this mani. I find that whenever I use nail tip guides there is always lumpy, bumpy ridges. I usually add a glitter stripe polish to these lines.

 ..... and my clean-up brush SNAPPED IN HALF MID-USE!!!!It flew half-way across the room! lol
o


Sunday, April 10, 2011

Plug Yourself Sunday and an easy diagional mani


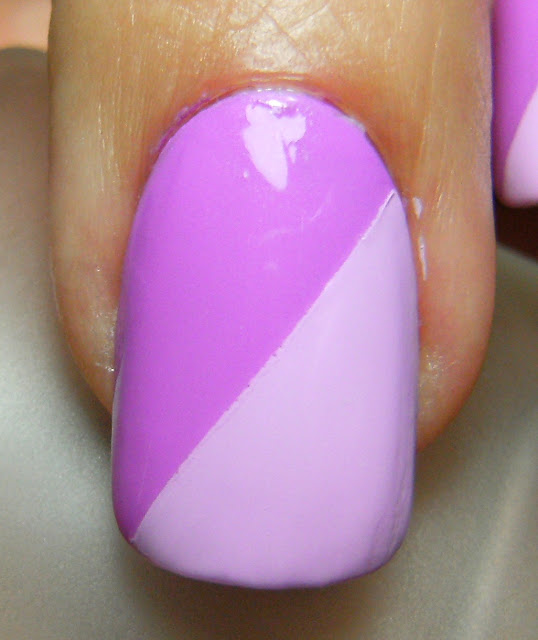
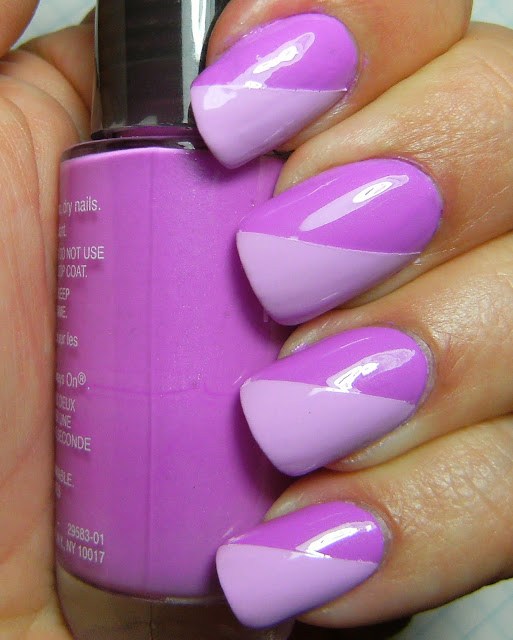
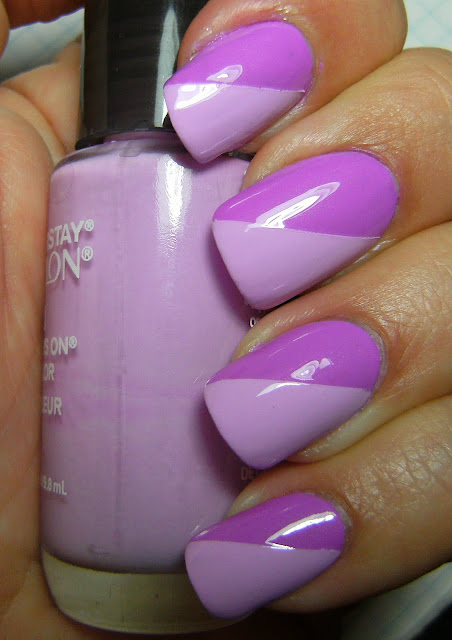
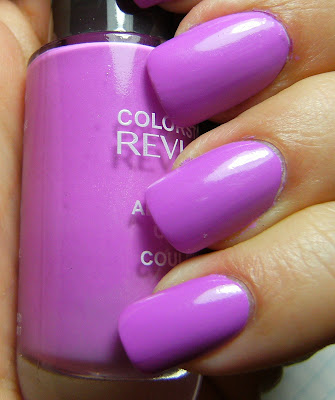
 2 coats of my franken Integrity, I placed a straight french tip guide diagonally across my nail, then added 2 coats of my other franken Faith. When it was dry I removed the french tip guide and added 2 coats of Nailene Top Coat.

Please add a link to your nail blog in my comments section ~ I will add it to my blog roll, and a link to your blog in tomorrows post.


and a gif - these are easy and fun to make. I use LooGix gif maker, I think this is showing the photos too fast, but I can't remember how to fix it.

Create gif


Indoor Florescent


Franken Integrity - 2 coats without TC


..... and with both polish's I used Franken Integrity, and Franken Faith
♥

Friday, August 13, 2010

♥ Icing Marine Scene w/ Franken ♥


Below - here is 3 coats of Icing Marine Scene, not to be confused with the fabulous and still currently available Claire's Marine BLUE, followed by a pretty franken painted on the diagonal and a pretty nailene nail stickers  . This polish is in desperate need of more pigmentation.... kinda disappointed in it and next time I wear it I will use a buff polish shade to minimize the bare spots. I knew I would be layering this and did not want to apply the 5 coats needed for opacity.

My ring nail has no TC, but the rest of my nails have 1 coat of Nailene Acrylic Strong Top Coat. I thought it was neat that this polish dried to a satin finish. After I took photos of this polish alone, I applied STRAIGHT french tip guides diagonally across my nails, then added 2 coats of a pretty franken I made using one of my favirote bargain brands of Polish = Billie. I added a beautiful blue nail sticker and another coat of TC.

( I was a little heavy handed with the franken on my ring nail.... oops!)


Sun

Shade

I applied Nailene Tips & Toes Nail guides and added 2 thinner coats of my franken - My franken dries to a  satin finish and adding a Top Coat brings out that beautiful pinkish/purplish shimmer ==== WOW!


Sun!

Indoor Fluorescent


The first one on the right, is the franken I used in the diagonal layer for this manicure...... It is soooooooo pretty! I almost took off this entire manicure to wear this polish alone. It is on my list to re-wear ASAP♥


Below, some comparisons..... I totally thought that Icing Marine Scene would be a close match to one of my current Favorites, an Icing LE with no name. Icing CREME finish polish are friggen fabulous.... there sheer polish's need help though. I wish that Marine Scene was alot more opaque.... as I mentioned above this is only 3 coats when I could have used 4 to 5, and even used a 'buff' shade of polish and layered Marine Scene over it to get  a more opaque finish.... Oh Well, It's still pretty♥


L to R - Ardene Matte About Blue, Icing Marine Green, Icing Mystery polish, ChG Shower Together.


Below - Here is Icing marine Scene 3 coats w/TC, and on my ring nail is the Icing LE with no name..... Love that polish! it was 2 coats and with no TC ( for comparison )

shade


Sun
♥

Tuesday, July 6, 2010

Franken 'Spontaneity' and Sally Hansen Green with Envy ♥

China Glaze Spontaneous if on my RING Nail while my franken is on the rest of my nails
I layered with Sally Hansen Green With Envy


I made a franken that is a close dupe for one of my favorite go-to polish's; China Glaze Spontaneous. I don't have many China Glaze Polish's but the ones I do have a really pretty. I keep rotating ChG Spontaneous and ChG Shower Together on my toes! Thats why I post so few T.O.T.W. or T.O.T.M-W. posts.

Anyhoo- I made this franken with Claire's Matte Cobalt, Sally Hansen X-treme Wear in Radish ( another Favorite ) and Billie French White. After wearing it for the day I applied the regular curved Nailene French Tip Guides diagonally across my nails, and added 2 coats of Sally Hansen X-treme Wear in Green with Envy.... these too colours clash to the max, but they look so good together! When I was sure it was all dry, I removed the french tip guides and applied a thick coat of Nailene Acrylic Strong Top Coat.


Cloudy Skies

Indoor Florescent

The other side

The other, other side

Sunshine!

Shade

Indoor fluorescent

♥

Sunday, July 4, 2010

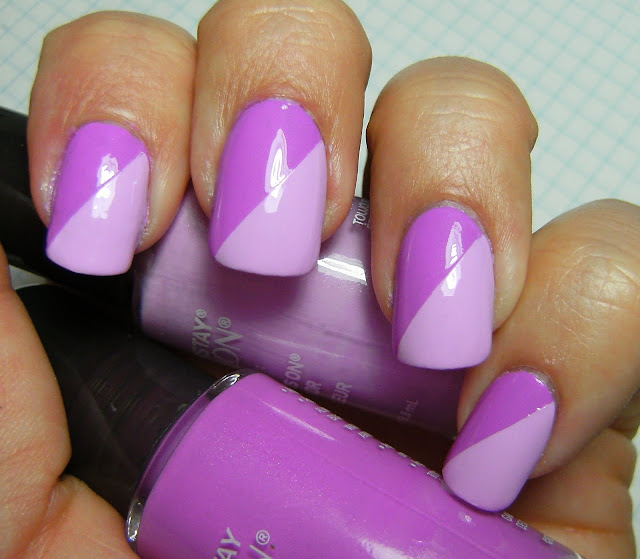
♥ Purple Franken Diagional Mani ♥


2 frankens layered

Here are two pretty frankens I made. Even though I keep whipping up all these pretty frankens it doesn't stop me from BUYING MORE FRIGGEN NAIL POLISH!!!!!! Seriously, I am running out of room to store all my bargain nail polish riches. Anyhoo I made a very pretty lilac franken using Billie 'White' and N.Y.C. 'Chinatown', and layered another pretty franken I made using Wet n' Wild 'Pink Sapphire' and N.Y.C. 'Chinatown'.

This is 2 coats of my lilac franken followed by a coat of Nailene Acrylic Strong Top Coat. I wore this plain for the day then added the sparkly franken to dress it up. I find myself appreciating just plain creme polish's lately = I used to be all about the glitter.... I guess I am growing up ( hahahaha)

I like the look of two contrasting polish finishes when I do a diagonal mani - two opposing colours on the color wheel looks cool, too. Actually - I think pretty much anything looks cool in a diagonal mani. It's such a simple easy thing to do to dress up any  manicure or to stretch out a roughed up manicure. I placed a Nailene french Tip Guide on the diagonal and and added 2 thin coats of my sparkly franken; probably should have used three. When I was sure it was dry, I removed the french tip guides and added a coat of Nailene Acrylic Strong Top Coat. 

I swiped this sparkly franken on my whole pinky nail to see what it would look like =  but I loooooove my diagonal manis so of course I had to whip out the french tip guides.


Sun


Shade

To make this pretty lilac shade I used Billie White, N.Y.C. China Town

Shade with Flash = oops I wasn't wearing Top Coat yet in these photos...............

Shade

To make the sparkly franken i used to layer over my other franken I used N.Y.C. Chinatown, Wet n Wild Pink Sapphire and some clear nail polish.

L to R - N.Y.C. 'Chinatown', Wet n Wild Rock Solid in 'Pink Sapphire' and my franken

apply Nailene French tip guides diagonally across nail
I applied 2 thin coats of my franken that I made with N.Y.C. China-Town and Wet n' Wild Pink Sapphire and a little bit of clear polish.....
When it was all dry I removed the french tip guides and  applied a coat of Nailene Acrylic Strong Top Coat {{ there is no top coat in this photo......}}


Sunshine
♥

Tuesday, June 29, 2010

♥ Claire's Yellow Brick Road & Franken plus $1 store nail gems ♥

Claire's Yellow Brick Road with Yellow Brick Road Franken

Here is an easy and cute way to stretch a mani - I always end up doing some diagonal design, and this time I wanted to use patterned scissors. I also experimented with blue tape, I had to apply it to a the backing from a mailing label to cut it. The scissors I used were not that great and it was difficult to cut through both materials. Both the blue tape and the mailing labels had the same result. There was very little gooey residue and very little seepage.

The base of this mani is 3 coats of a franken I made using Claire's Yellow Brick Road and Billie French White. The chicks at Claire's gave me the side eye when I bough 4 bottles of this....  I have whipped up so many cool frankens with this polish = I wish I bought more!!!!! I actually wore this plain for a whole 24 hours before I decided to jazz it up. I applied the patterned nail guides I made then swiped on 3 thin coats of Claire's Yellow Brick Road which pooled substantially at the nail guides, but is only noticable up close..... very, very close.

  Because Yellow Brick Road is a neon it dried super duper fast and super duper dull.... when I was sure it was dry I removed the nail guides, and applied a coat of clear polish before I applied 2 coats of Nailene Acrylic Strong Top Coat. Viola! This was a perfect mani for the gloomy morning we had - thankfully we got some sun so I am not gonna complain

Also I found some awesome nail gems from Dollar-rama...... These were the last two unfortunately otherwise I would have grabbed a few extra - BLACK nail gems = yeah!  THESE WERE IN THE CRAFT SECTION ♥


Below; these cute crystal wheels were only $1.00 CA each! they were the last two ( grrrrrrrrr ) I love all the neat clear ones below - the squares and rectangles are different . They are low profile too, which means less snagging on clothes and other things I was totally psyched to see BLACK crystals but there is way, way less of those than the other colours..... I will have to start stalking DollarRama again, I am trying to avoid it but I really really want to find some more of these.
 
$1 CAD @ DollarRama -

$1 CAD @ DollarRama -

And an E.L.F. eyeshadow brush.....

Sun

Shade

L - Claire's Yellow Brick Road R- Franken made with Billie White and Claire's Yellow Brick Road

Because these scissors are not so great, I removed 1/2 of a mailing label and stuck the tape on this area to cut it. Trying to cut this blue tape on it's own was impossible with these wavy scissors. This was my first try using blue tape......its the same result as the mailing labels.


I like this kind of nail art.... I can easily do it on my RIGHT hand♥

Franken I made using Claire's Yellow Brick Road and Billie French White. This is 3 coats, and there is a little streaky-ness. This dried soooooo fast, almost as I was applying it. Because the two polish's I used were both satin/matte it needed 2 coats of T.C. But first I applied a coat of CLEAR polish, this Billie White often gets picked up in my T.C., so I am taking preventative measures now......

Sun

Shade

Shade with Flash
♥