Showing posts with label Brand - Claire's. Show all posts

Wednesday, April 9, 2014

Claire's Splatter paint

I actually had other plans for this pretty yellow and orange gradient sponge Mani --- but somehow I acquired a million pieces of black fluff all over my nails and had start over or hide it with something.

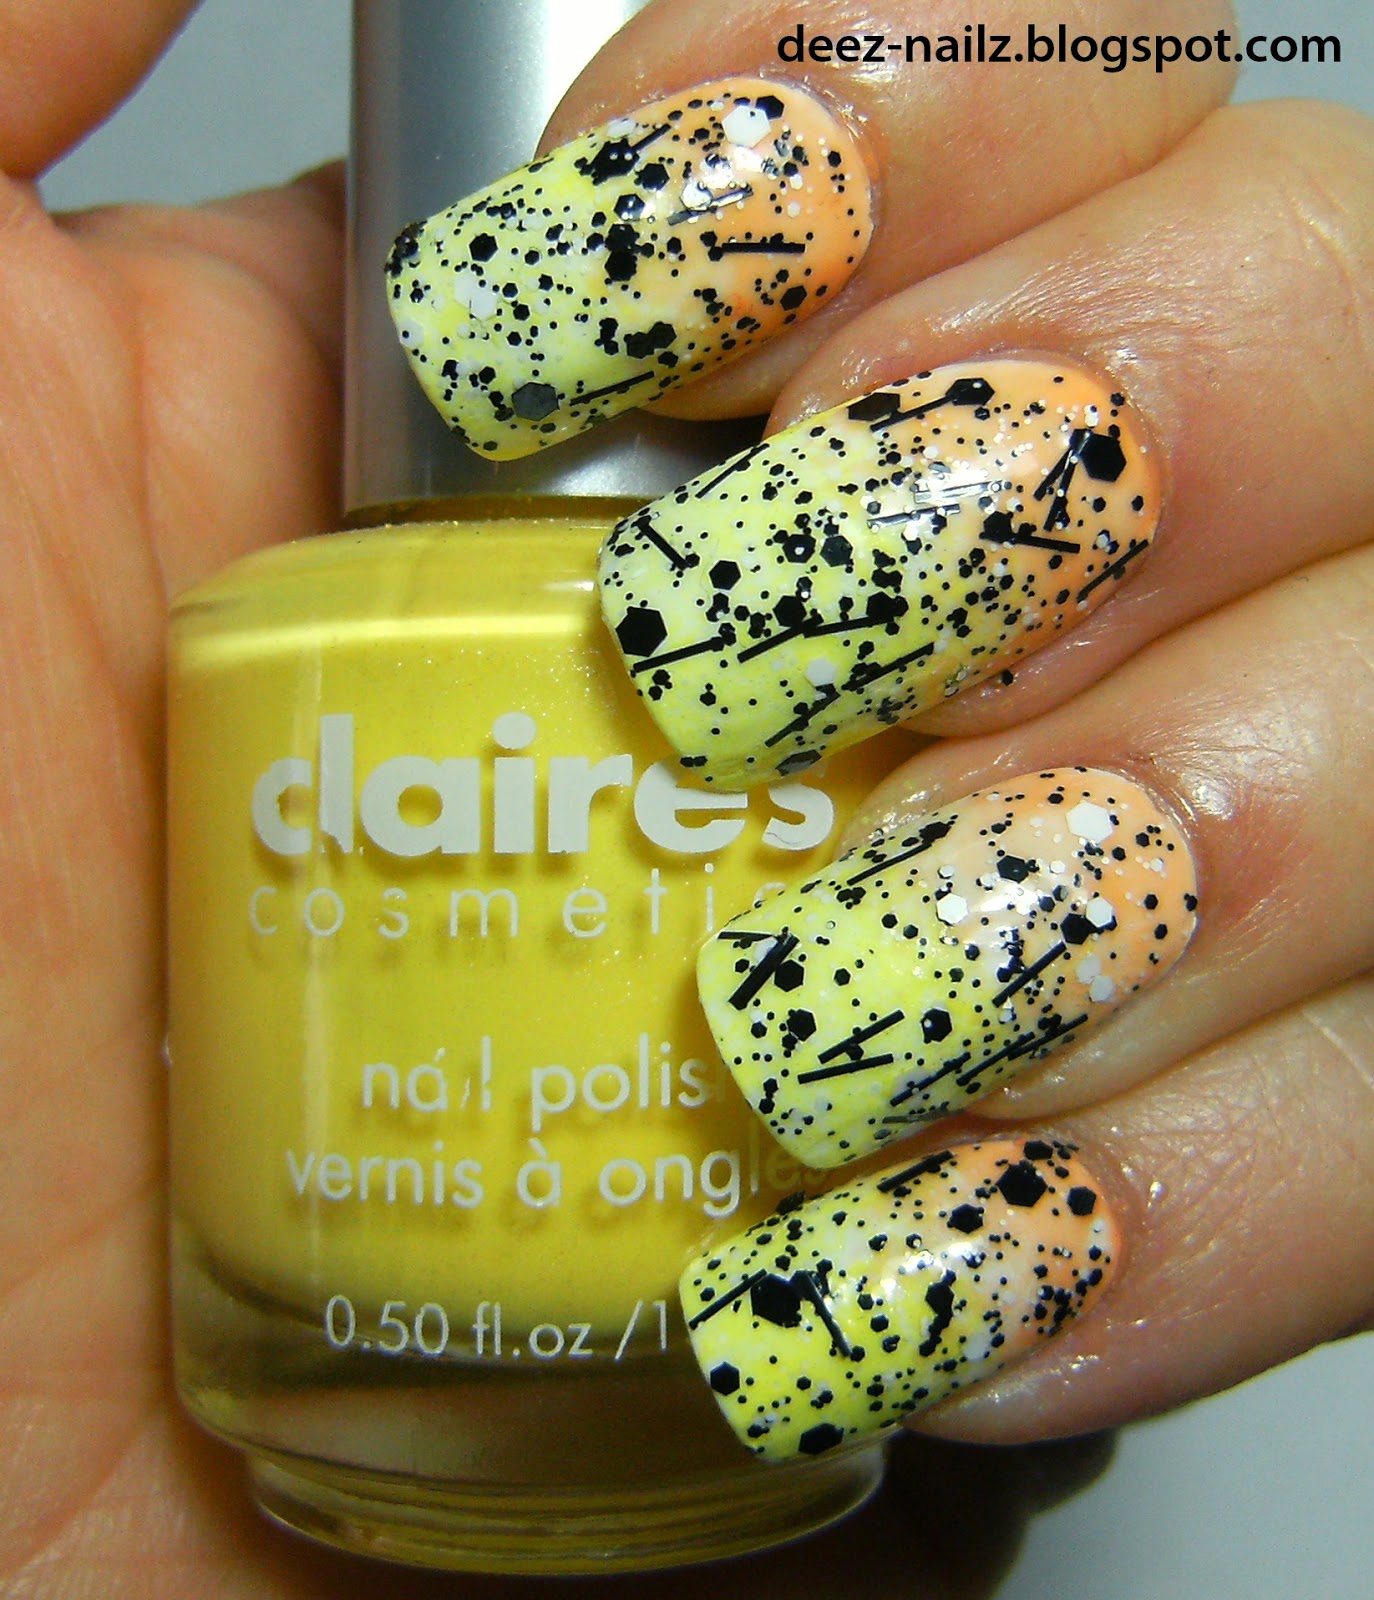
I bought Claire's Splatter paint last may! May 2013!!!!  and I am  just now getting around to using it. Anyhoo - this is 2 coats of Claire's Splatter Paint over a bright sponge base. I started with 2 coats of Wet n Wild white, then sponged on Claire's Dreamsicle, and Claire's Yellow Brick Road


lol @ the bite marks - Its neat to see the change in the labeling and Font's of this brand of polish --- I think it spans over 4 years, it seems like Claire's changes their stuff every 6 months or so......

@ 2 coats of Wet n Wild White

see those black pieces of fluff ---- all over my nails! grrrrrrrrrrrrrrrrrr


@ 1 coat of Claire's Splatter Paint

@ 2 coats of Claire's Splatter Paint


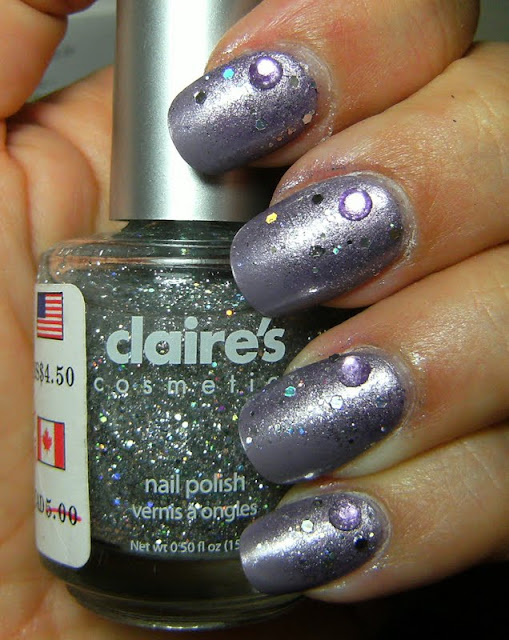
There's a million of these types of polishes out there now, with the hex glitter and straight glitter, I bought this a year ago and just got to it now. I'm not really in love with this type of glitter~ and I don't know why...........................
o


Saturday, July 14, 2012

Swanky Fishnet Nails


I have seen this on the interwebs a few times and decided to try it out myself. I'll call my first attempt a success = I don't think it would be possible for me to get crisp lines with this. Next time I try this it will be a base for some other type of nail art, using similar shades and possibly nail stickers.....

The base colour is a lovely polish I got from my mom that I have named 'Swanky'. I used Claire's Evergreen and Claire's Emerald City for the sponging. The fishnet material  was some leftover fabric that I used for Christmas Decorations.


2 coats of 'Swanky'


Below -  The base colour of this polish is a murky burgundy, but it ends up being a rich Forest green with alot of micro shimmer..... how is this possible? The top is 3 coats and the bottom is 1 coat.
o


Wednesday, July 11, 2012

Subtle Shimmer - Claire's Magic Franken


I don't know how this slipped into my blog drafts..... not to be read for months, because I really, really like htis shade of lilac with the subtle shimmer. I used Claire's Magic and Billie Cosmetics White to make this franken. This was 2 coats that I added the Origional polish - Claire's Magic - in a chevrone french tip.

Claire's Maguc and my Franken made by adding a white creme

I was pleased when the sun peeked out and I could grab some photos that shocased the subtle shimmer in my franken.

o


Thursday, October 20, 2011

Mummy nail art


I really like the look of this! I smeared the polish when I applied clear over the nail art = I should have waited a little longer = This was not hard to do, but I think that I let my black nail art polish dry out and so I had some polish strings and lumpiness......

The base of my mummy nails is 3 coats of Claire's Grey Matte, I used black and white nail art polish from The Bargain Shop! ( Canada )

I think I am going to try this look again without the eyes, possibly in a different colour combination. I surprised myself with making my lines so straight - see; practice makes 'sorta' perfect.


stuff I used Claire's Grey Matte, Nail art polish from the Bargain Shop!

o

Wednesday, August 10, 2011

subtle cosmos glitter and Wet n Wild Eggplant Frost


My placement of nail gems and holo hex glitter pieces is very outer-space like, so I'll call this a cosmos mani.... I started with the same greyed out lilac base of artificial nails, then sponged on Sally Hansen Chrome polish is moonbeam, then China Glaze Grape Juice, then applied the larger purple/pink nail gem that I peeled off from my dollar store stickers post ( HERE ). I applied a coat of Claire's Hollywood and set larger holographic hex glitter into it. 


stuff i used, Claire's Hollywood, Sally Hansen Moon Beam Chrome and ChG Grape Juice


Wet n Wild Eggplant Frost - 3 coats

OMG!!!! This is a beautiful polish!!! 1 dollar CAD? Strangely I did not already own this and picked it up during the last week of Walmart special sale price. It seems the last for 3 July's,  Wet n Wild polish's have been $1. and they actually restocked them 4 or 5 times..... I didnt go crazy but I did pick up some for frankens. Even at regular price Wet n Wild Wild Shine polish is well worth having. ( they are usually $1.57 to $2.00-ish CAD)

This is deep purple shimmer with somewhat subtle blue flash. In bright lighting and in the sun the blue flash is very evident.

I used 3 coats here, and have already incorporated it into some of my previous nail art.  These Wild Shine polish's from Wet n Wild have been very satisfactory - even though it says 'frost' it is not a frosty streaky polish at all!

This is another must have, I am looking forward to whipping up frankens with this one.

indoors


....so pretty
o

Monday, June 27, 2011

Avon Bare Necessity with glitter


This is 3 thin coats of Avon Bare Necessity, with an addition of a holographic multi-sized glitter franken. I sprinkled on some purple holographic glitter as well.  after sprinkling on a small amount of glitter I gently pressed down on the surface of my nail to get all the glitter laying flat. 

I wanted my nails to look like they had a casual addition of glitter. I like this type of look as much of the original base polish is visible and it is a nice contrast between the creme polish and glitter. For the glitter franken, this is Claire's Hollywood, a multi-sized silver glitter, I added Claire's Magic to it, so it has a slight purple base instead of clear.

Whenever I add a sprinkling of glitter to a manicure - it is always messy. No matter how hard I try to keep the glitter in a single area it usually ends up all over the place - but the results are pretty 99% of the time.

stuff i used; Avon Bare Necessity Claire's Hollywood Franken, holographic dark purple glitter


swooped on glitter, then filled in between

sprinkled on the dark purple holographic glitter
 

every time I do this { sprinkling glitter onto wet polish } I tell myself ' do it over the sink' = but i rarely do. that is the best way to do this because all the wayward glitter can be washed down the drain.

 in this photo there is a few pieces of glitter sticking up, i gently press them into the wet polish with my finger-tips..... generally i bank on needed 2 or more coats of top coat to get a high shine bump free surface when i use a dense glitter like Claire's Hollywood.


.... and a few more photos


Saturday, June 25, 2011

lather, rinse, repeat - a henna tattoo looking mani


above; index ~ below; middle nail


I thought I did this look at least 6 months ago - but I did this just last month...... I called it 'peas in a pod' manicure, but it does look more like a henna tattoo pattern. I wanted to try again; using the stripe polish and different size dots and it turned out lovely.


There really isn't much to add to this, so if you need more info, please read the other post HERE. I started off with a base of Avon Bare Necessity, and sponged on Billie Cosmetics Turquois ( lol -it is a light pink with grey tones) I used a black stripe polish, then using a dotting tool I added some shimmery medium purple dots in varying sizes.


I applied top coat on a few nails for a refernce to how TC smoothes out lumps and bumps and helps blend together a sponged look in a photo below. It is amazing how a top coat can smoothe out a lumpy textured polish, doesnt always work on gritty glitters, though.

I used matte top coat for this. I find that whenever I do fancy nail art, and use a shiny top coat I can never get a good photo of the design, so from now on I think I will try to take a photo of my designs with matte top coat.....


this is immediately after i applied the matte TC when it was still wet - so its shiny


stuff I used;
Avon Bare Necessity, Billie Turquois, Black stripe polish, Billie Purple, Claire's Matte TC


my thumb, middle and pinky nails have top coat, the rest are just the sponged on polish


so I cheated! I brushed on the two colours first, then sponged.....

I drew my flower petals or leaves or whatever these are supposed to be


Then added these shimmery purple dots


Avon Bare Necessity


the black stripe polish from The Bargain Shop Canada


... and one more photo!
o