Showing posts with label brand - kiss. Show all posts

Tuesday, March 27, 2012

Chevron Nails


Nail tip guides are awesome to have around. This was easy to do and I think it looks really cool! I have tried to do scotch tape mani's and I suck at them, so I will stick to free-hand stuff or use french tip guides.

I started with a base of Sally Hansen Complete Salon in Madame X - this is a very bright hot pink creme leaning towards orange. I couldn't take 1 non-fuzzy photo of it, as my camera doesn't like these types of bright pinks.

I used chevron french tip guides that I purchased in a nail art set from The Dollar Rama ( Canada ) and used Sally Hansen Complete Salon polish in Trouble Maker - a very pretty medium purple creme. I picked up both of these polish's on the bargain rack at Walmart for $1.00 = SCORE!!!!!


I am resisting the urge to trace over all the line with a fine silver glitter stripe nail art polish......

3 coats of Sally Hansen Complete Salon Madame X

Kiss nail tip guides.... HERE is the set I found these in 

  I applied the nail tip guides to my nails........

Then added 2 coats of Sally Hansen CSM Trouble Maker

 when the polish was 'sorta' dry I peeled off the nail tip guides, then added a coat of TC. I definitely will need 2 coats of top coat for this mani. I find that whenever I use nail tip guides there is always lumpy, bumpy ridges. I usually add a glitter stripe polish to these lines.

 ..... and my clean-up brush SNAPPED IN HALF MID-USE!!!!It flew half-way across the room! lol
o


Friday, November 18, 2011

dry marble - and a few new blogs to add to my blog roll.........


I am trying to experiment with something awesome I saw on More Nail Polish and Enamel Girl.  I started out trying  the water marble where you do a design like a normal water marble, then drop a cut out piece of plastic onto the marbled design to pick up the design, let it dry then affix it to your nails - but it turned out terrible!

So instead - I did a drag marble on a piece of plastic, let it dry then affixed it to a tacky nail polish base..... it turned out perfect.

I can see this being a great way to have my non dominant hand have intricate designs that I cannot do as well free-hand, My left hand ( model hand ) always looks better than my right hand.

This Sunday I will set aside some time to figure out how to do a real water marble - then pick up the design with plastic. If you haven't already check out  this post from More Nail polish where she did a fabulous job with dry water marbling  and a much better job of explaining how it is done...... Water marbles can be so beautiful but I find them to be so messy - and many of the times I have tried they looked awful.

In the mean time I will mess around with swirling nail polish onto zip-lock bags..... I only tried this on 1 nail and so far it turned out very nice.

I applied this to a still tacky nail polish base

here is with a coat of TC

and here is with 2 coats of TC and after an acetone clean up 

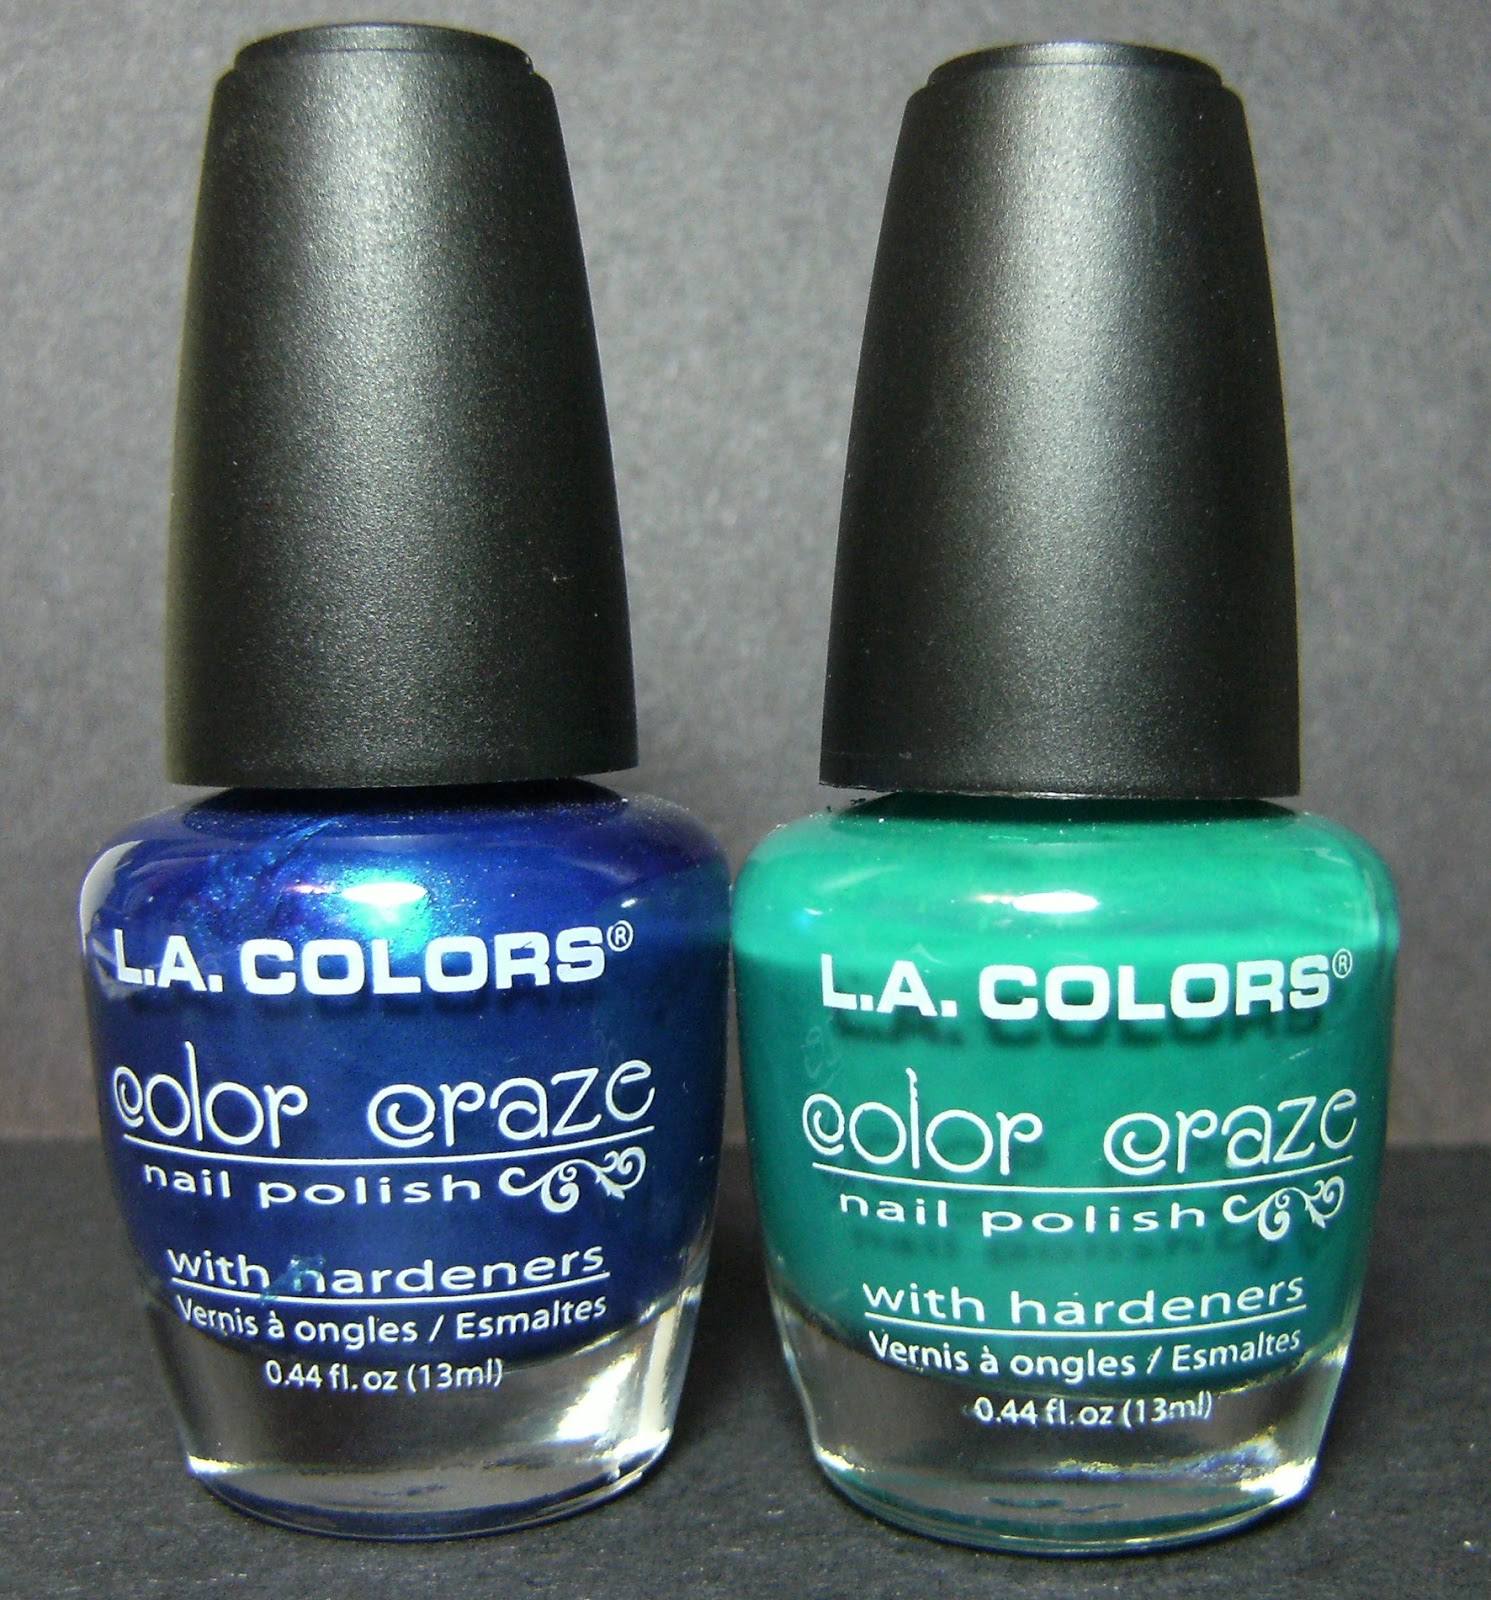
and here are the colours I used- LA Colors Static Electricity and LA Colors Atomic

~ o ~


.... and here is a mani I wore earlier this week,  The base is Avon Bare Necessity, I made a chevron shape with LA Colors Black stripe polish, went over the line with LA Colors Metallic Pink stripe polish, then added Kiss pink Glitter over that line.... The pink glitter did not show up as much as I hoped it would. I added a coat of TC to my nails, smearing the black on my index - boooooooo!


 and finally a few blogs I added to my blog roll - I have been lacking on my blogroll, sorry!

  omgnoodles

 A nail  polish affair 

 nail passion 

 tip-top-nails

 cosmetics freak

 nail polish-addict 

 life and slight obsessions 

 nails and stuff 

 pistols and cobras 

 hold ur colour 


As long as your blog has 86.342839 % nail polish related content I will add it to my blog roll- It may take a day or two ( or 2 weeks ) but I will get it up there!

I have taken a few blogs off that had questionable content but for the most part I like that there is almost 800 different nail polish related blogs on there I am very Happy that there are soooooo may people sharing all their mani's, shopping hauls and tips and ideas - - -  Thanks everyone for posting all your stuff!

o


Sunday, November 6, 2011

Pink Flower


this was very easy - I started with 2 coats of Sally Hansen Hard As Nails in Jewel Frost, then crudely applied Sally Hansen X-treme Wear in Titanium Rose in a rough 3 flower/petal shape. I waited a bit to add the outline of the flower using LA Colors Metallic Pink stripe polish, then dotted on some Titanium Rose as well as some smaller dots of the LA Colors Metallic Pink Stripe polish. I dumped a small amount of Love my Nails Pretty in Pink onto a piece of tin foil and fished out some of the large pink hologhraphic hexagons. I wanted to add a little something else so I applied LA Colors Pink Glitter stripe polish to the insides of the flower petals as well.

Sally Hansen Jewel Frost


stuff i used; SH Jewel Frost, SH Titanium Rose, LA Colors Metallic Pink, Love my Nails Pretty in Pink, Kiss pink Glitter


my rough flower shape on the left, then outlined with the darker pink mettalic stripe polish

sun!!!!!!!!!!1

o

Friday, November 4, 2011

blue flowers/leaves?


The base is 2 coats of ELF Dark Navy. I used 3 different stripe polish's; Kiss Pearl Gold, LA Colors Dark Blue and LA Colors Blue Glitter. I made the shape of the leaves/flower petals first with the Kiss Pearl Gold Stripe polish, then filled it in with the Kiss Pearl Gold stripe polish. I went over the outline with LA Colors Dark Blue ( which is an awesome opaque metallic blue )  as well as a stripe down the middle of each section then went over that middle stripe with the blue glitter.
 

stuff i used; ELF Dark Navy, Kiss Pearl Gold, LA Colors Dark Blue & Blue Glitter stripe polish

These ELF polishs are on sale right now ( I read it HERE on Nouveau Cheap's blog )


o

Friday, October 14, 2011

whew! Where did my week go?


this is 2 coats of Sinful Colors Nirvana, with Kiss Dark Purple and Kiss Pink Glitter layered over LA Colors Metallic Pink, followed by a coat of TC. If some of these photos are posted 'fuzzy' I wont fix it till tomorrow - so hopefully they post properly..... sometimes I am too impatient to sit here and fiddle around with blogger and wait for things to work out - but sometimes blogger is just wonky.... still love it!

Have an awesome weekend!

Below is a crude outline of the shape I wanted for my funky french...... 

I filled in the outlined are, then added LA Colors Metallic Pink

then the Kiss Pink Glitter on top of that

I am certain that it would have looked just as pretty without the base of LA Colors Metallic Pink, but I didn't want to have any sparsely glittered areas


I added another coat of the glitter on top of my top coat......