Showing posts with label Colors - Gold. Show all posts

Saturday, April 5, 2014

N.Y.C. Top of the Gold


Oh wow! ---- This one is really pretty, too!

1 coat of N.Y.C. Top of the Gold layered over a nude polish. I wasnt sure that the nude base and the gold flakies would look good together = but it turnd out really nice. Top of the Gold is a gold flakie top coat, I found this at walmart Canada for $1.50.

I think this will look amazing over darker polish's and I will definitly be layering this over black in the future. N.Y.C. has 4 new-ish top coats; a matte, a multi-coloured fine glitter, this gold flakie one and a pretty blue and silver sparkle. All four are worth having and I think I'll have to do a N.Y.C. Top coat round up soon.


2 coats of Icing Sandy Beach

Icing Sandy Beach and N.Y.C. Top of the Gold


o

Friday, July 13, 2012

Sinful Colors - Excellence in layering pt. 1


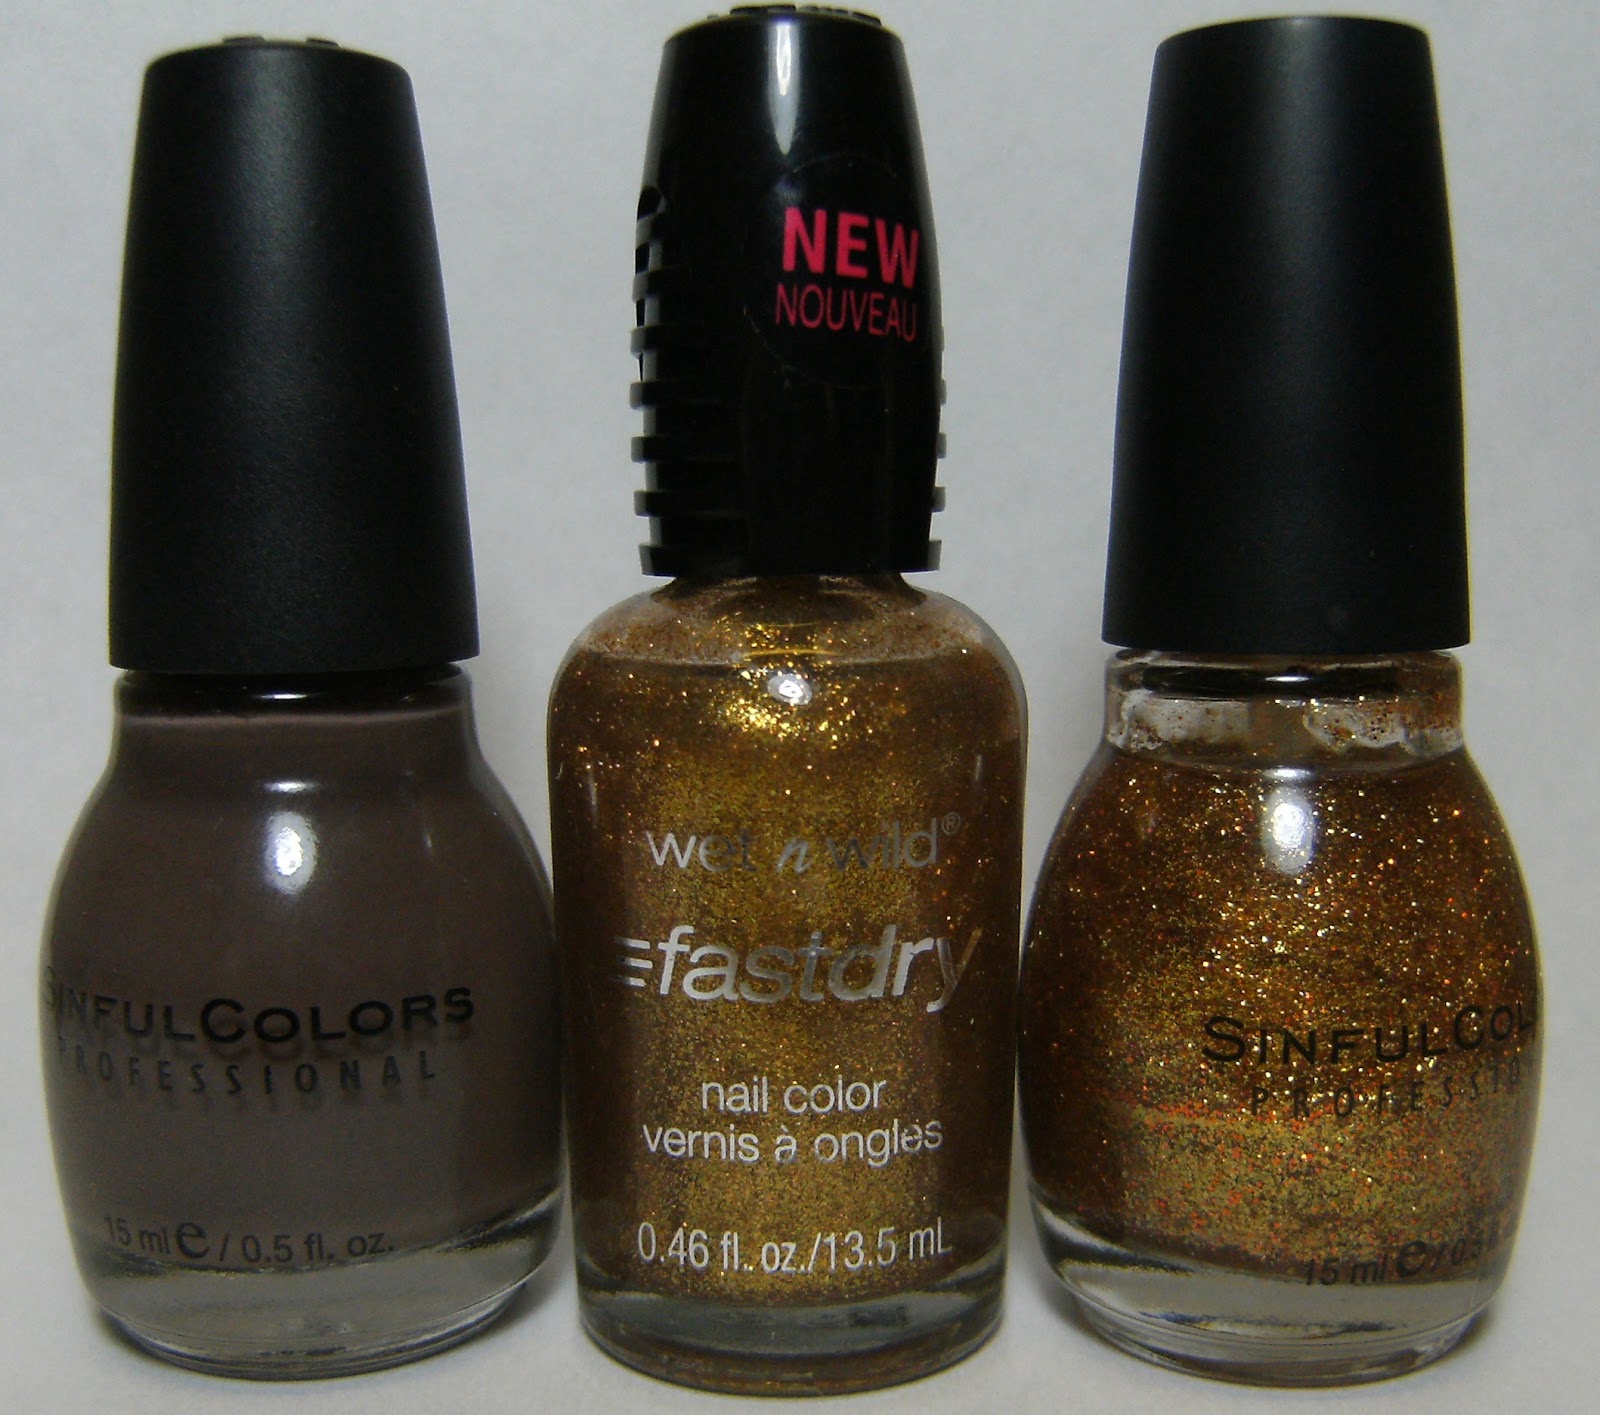
I loooooooove the glitter and flecks of Gold in Sinful Colors All About you. Here I have layered it over Sinful Colors Nirvana and Wet n Wild The Gold and The Beautiful.

Polishes I used 


Sinful Colors Nirvana, an easy to apply Mushroom Taupe. This was 2 coats with a third light touch up coat.


 I added 1 coat of Wet n Wild The Gold and the Beautiful


 and finally Sinful Colors All About You


These beautiful Tiger lilys are in a neighbors garden are a striking technicolor orange - I snapped a whole bunch of photos of this plant. My mani below is Sinful Colors Rich in Heart, followed by Sally Hansen Nail Prisms in Ruby Emerald and a coat of ColorRama in Frosty Pink

I like how in this photo the 'firey Embers' of frosty pink really show up

2 coats of Sinful Colors Rich in Heart 

Sinful Colors Rich in Heart with Sally Hansen Rudy Emerald

...... and a coat of ColorRama Frosty Pink

 stuff i used  Sinful Colors Rich in Heart, Sally Hansen Ruby Emerald and ColorRama Frosty Pink
o


Saturday, November 26, 2011

Royal Sponge


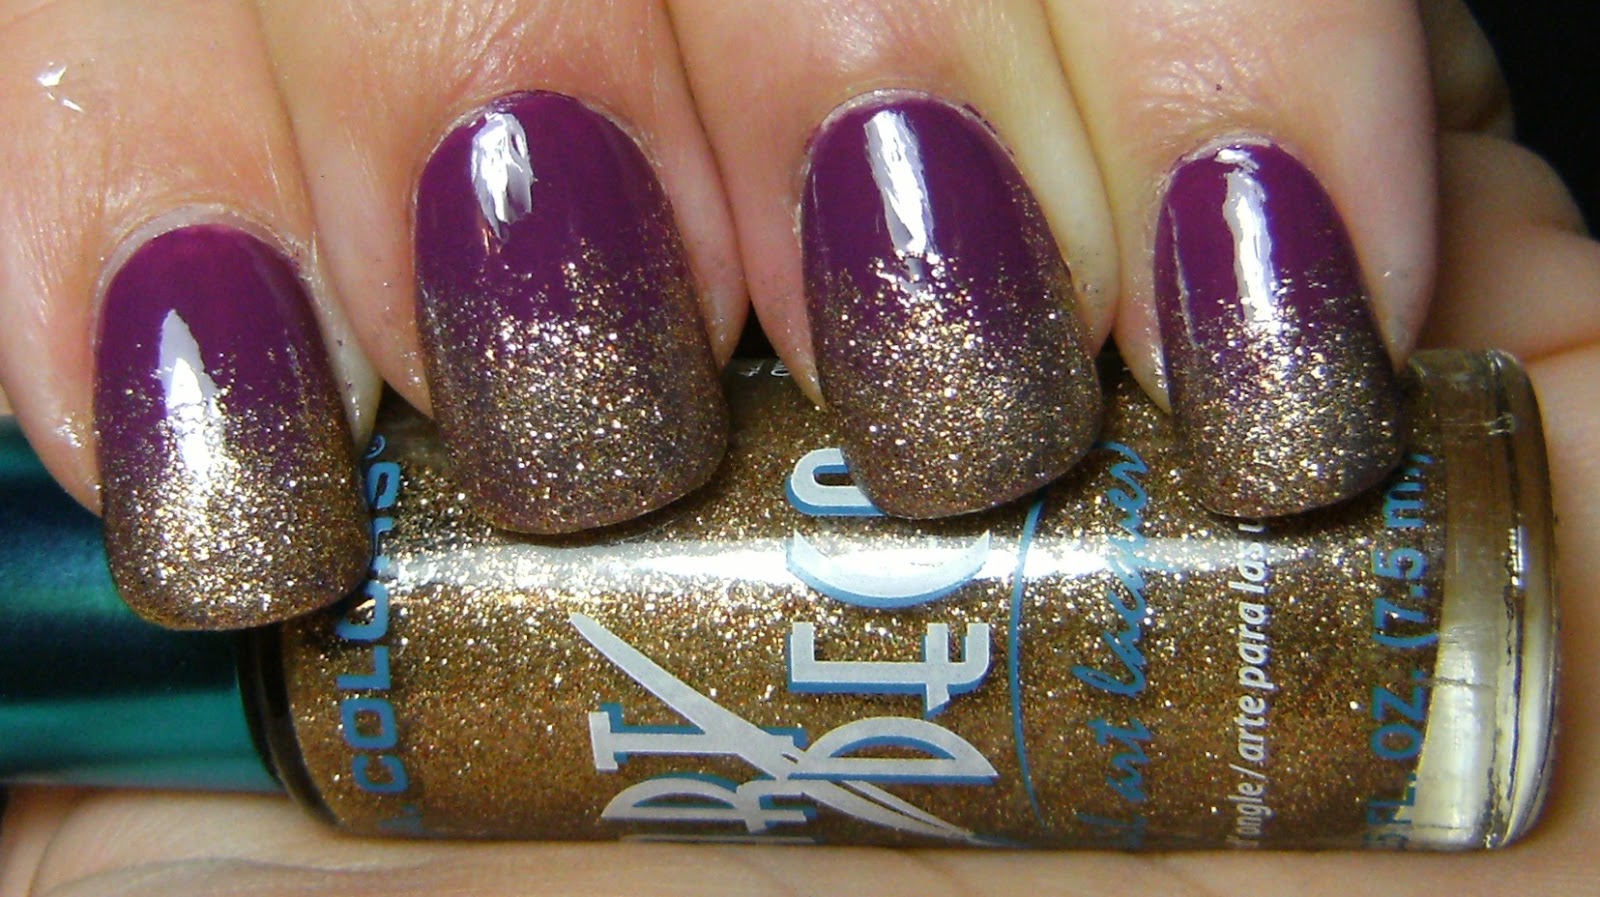
 3 coats of a no-name Icing purple creme, a sponging of another un-named Icing gold shimmery polish and Gold Glitter stripe polish from LA Colors.

 Whenever I add glitter to my nails, I try to sponge on a light layer of a similar polish, especially for a look like this. This gold glitter stripe polish from LA Colors was not grainy at all! LA colours - I LOVE U!!!!

Here is is from a previous mani

This LE set from Icing has no names, does anyone else have this, or did anyone else come up with names for this set? I think this came out in 2009..... I am wearing the polish second from the right.....

..... and a few more photos

stuff I used, no name Icing polish's and LA Colors Gold Glitter

I sponged on this shimmery light gold over 3 coats of a pretty purple creme

 then added the gold stripe polish... ( I slapped it on = lol )

  and added a coat of TC
o


Sunday, October 16, 2011

It's Fall, Ya'll & plug yourself sunday


 okay - I have to resort to the fact that winter is actually going to happen, even though we are having weather that is amazing; sunny skies and mild breezes, when usually this time of year it is bitterly cold and windy. So this will be my first real Fall Time manicure.

These 3 stripe manis are a good nail look to master - they get easier and easier every time I try one.... The addition of a glitter stripe polish to hide any wonky lines or lumpy-ness make this a fast, easy fool-proof mani.

Warm browns and gold say 'fall-time' for me. I started with a base of 2 coats of Sally Hansen Insta Dri Co-Co a Go-Go ~ wore that for an entire day ~ then did this look for today. I drew faint lines with a shimmery stripe polish, then filled in the areas with Sinful Colors Rich in Heart, and NYC Backstage Brown. I traced the lines with 2 coats of LA Colors 24K Gold, then added a coat of TC.

If you have a new Nail Blog, or you aren't already on my nail blog list, I will add you to it! Just leave me    your blog address in the comments and I will add you to my Nail Blog roll and have a new blogs list on Monday ( or Tuesday....... )


stuff i used; Sally Hansen Co-Co a Go-Go, Sinful Colors Rich in Heart, NYC Backstage Brown, LA Colors 24K Gold

Sally Hansen Insta Dri @ 2 coats


this was surprisingly dense with gold glitter..... love these LA Colors Stripe polishes

o
Wednesday, May 25, 2011

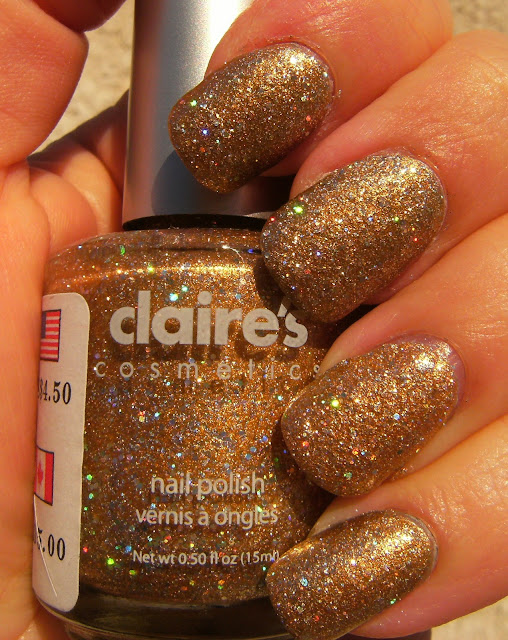
AVON Chocolate Deluxe with Claire's Goldmine


This was my mani from yesterday - not terribly creative, but flashy enough for a cold gloomy Tuesday


3 coats of AVON Nail-wear Pro Chocolate Deluxe. This is a lovely brown polish with prominent gold shimmer. Like all the Nail-wear Pro polish's I have tried this applied wonderfully and dried fast. I swooped on Claire's Goldmine, starting from the side of my nail and fading towards the center.

3 coats of AVON Chocolate Deluxe - No Top Coat


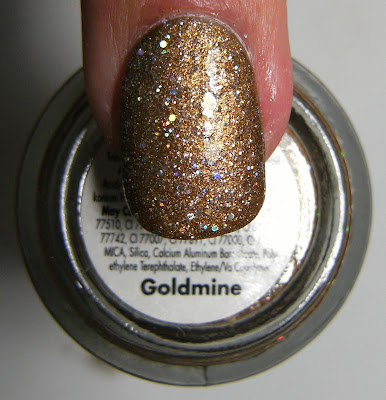
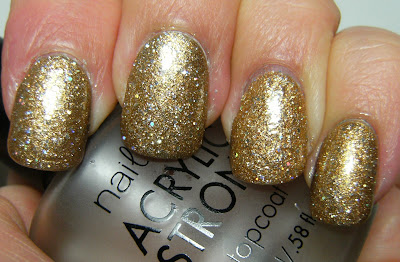
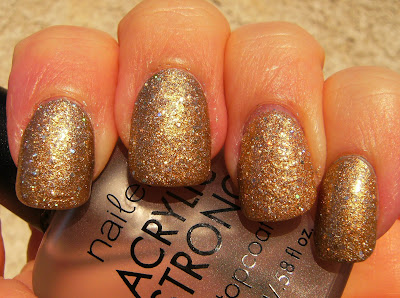
Claire's goldmine is a translucent gold with silver and gold holographic glitter. I also have the silver version of this polish. I wore this earlier this year - it is a hoooooongy glitter and needs 2 liters of top coat to smoothe it out. 

When I use a glitter polish with properties like this I try to use as little as possible. Mainly because removal is a pain in the bunz, but also a polish like Claire's Goldmine will need 2 or 3 coats  they suck up top coat and remain 'textured' even after 2 or 3 coats.


here is 1 coat of AVON Chocolate Deluxe - this polish leans on the red side of brown


and 3 coats with No TC


These next 3 photos are not necessary for this post, I am trying out different setting on my camera, and different indoor locales for lighting. In Central Canada it is still chilly: I haven't put any plants in yet, and have only been able to wear sandals 3 times so far THIS YEAR.

sun - 4:45 p.m.


shady office 4:45 p.m.


indoor flourescent


♥

Thursday, March 24, 2011

Claire's Goldmine & exciting new frankens!!!!!

above - Claire's Goldmine, 2 coats layered over Billie Gold metallic w/ 2 coats of TC

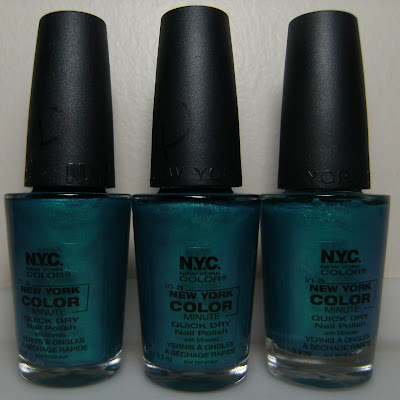
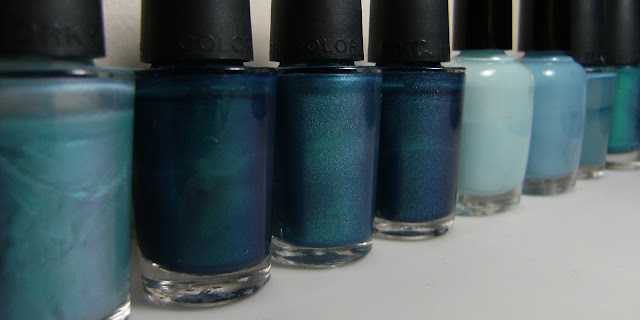
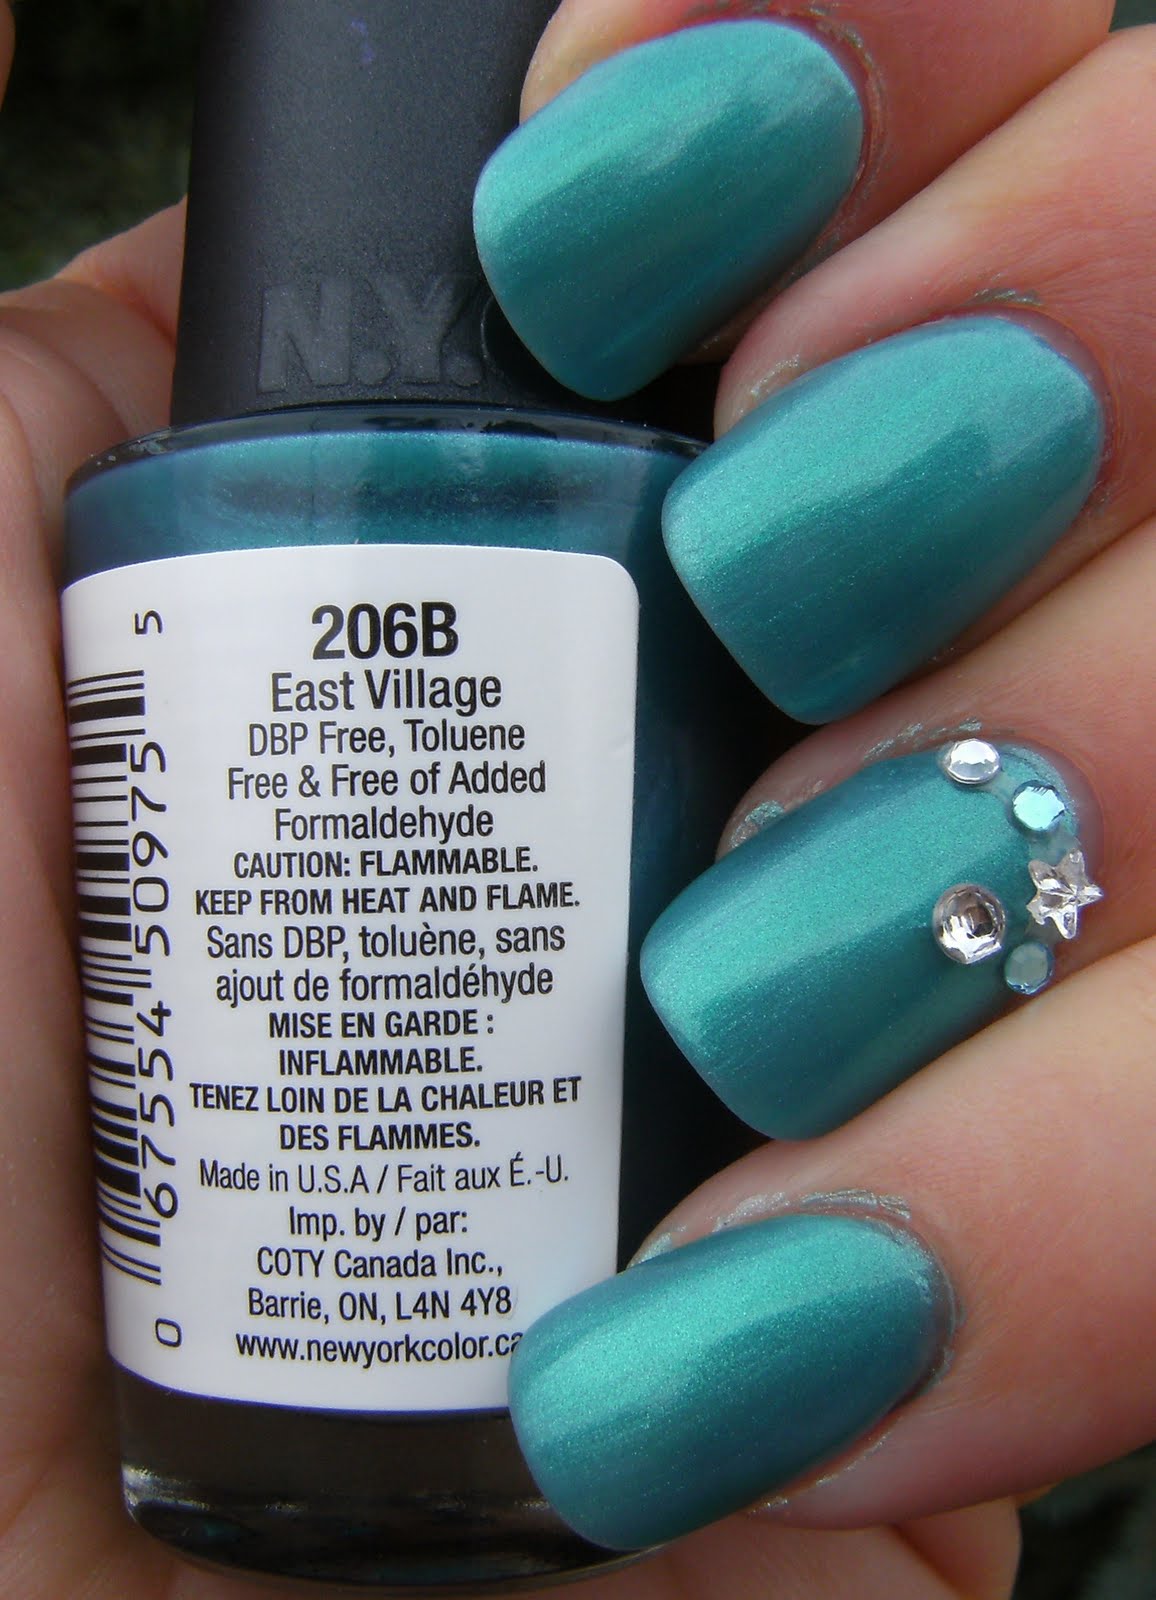
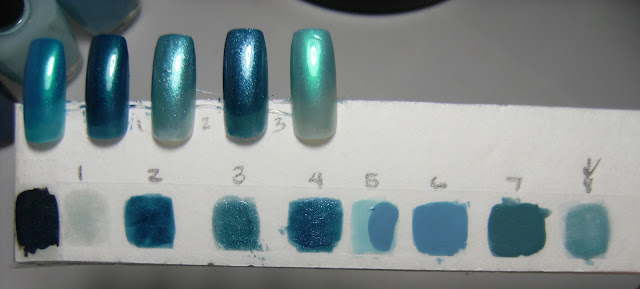
But first frankens!!!!!!!I found a few bottles of NYC East village on sale a few months ago. I knew I would  be whipping up some frankens with them eventually. I finally got around to it this evening. Before I knew it it was 10:45, my whole evening spent franken-ing! All my frankens turned out as I envisioned they would. I am so excited to wear them.


 NYC East Village5 coats w/ TC = This polish is pretty layered over other polish's and it did dry fast..


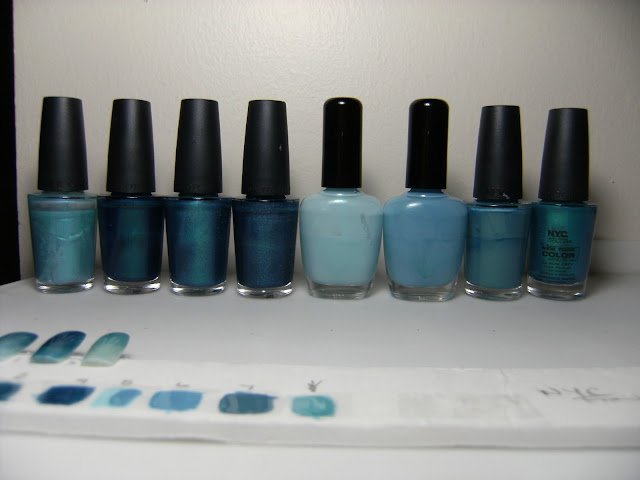
NYC East Village is a ridiculously sheer teal shimmer. HERE is a previous post I did on this polish The only polish's I used for these frankens below were NYC West Village, a Black creme, a White creme and a shimmery sparkly Icing polish. These were very simple to make. taking your time, adding drop by drop for deep pigmented colours and taking notes is they way to go when frankening.

I will be doing individual posts on these starting tomorrow. Sorry about just bottle pic's and small swatches.... I had to post this asap, because using this for frankens worked out excellent - plus the labels peeled off more easily than any polish label I have come across!

( I picked these up for 72 cents each last Autumn)

and my frankens, with the OG at the end


.... and a few more photos of Claire's Goldmine, 2 coats w/ 2 coats of TC


♥