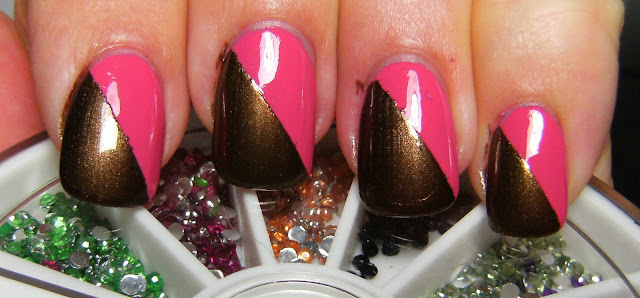
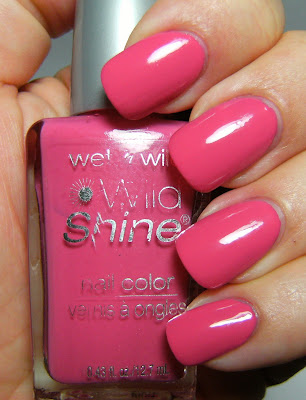
I have been wearing this for a day and a half, I am not sure what type of nail art to accompany this with because it really is stunning on its own. Does anyone else in the world have this polish? Do people usually shy away from in-expensive sets such as these? I will admit I used to, but the last 3 I have bought or been gifted have been fabulous.
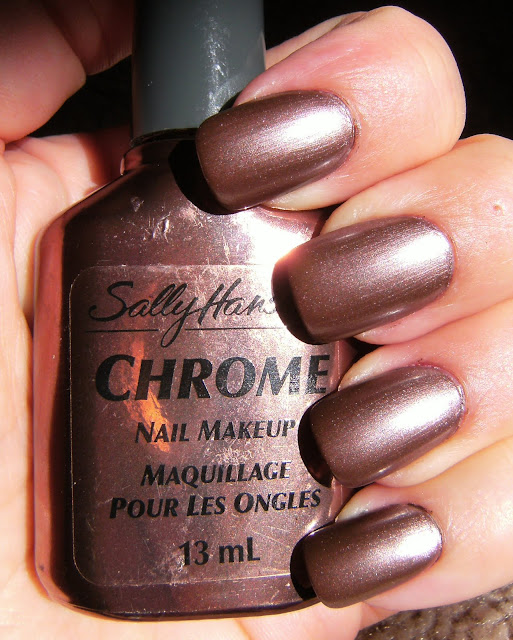
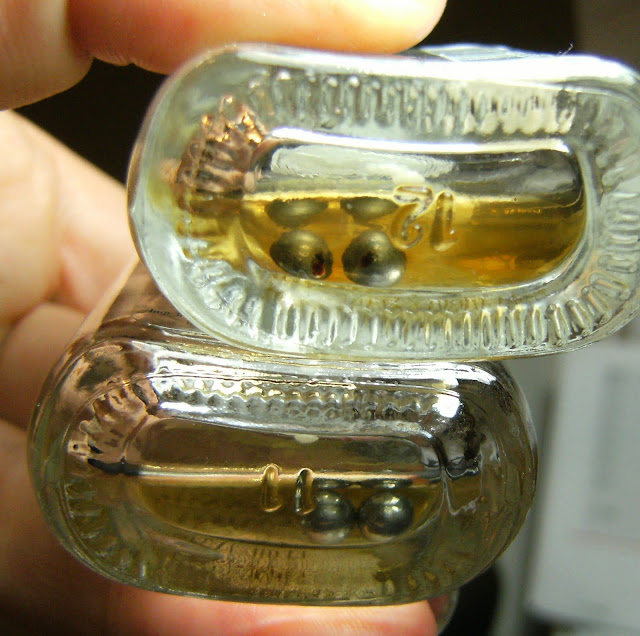
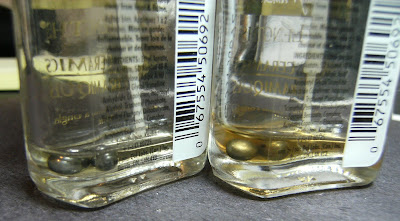
I don't have any of my stash un-packed, so I cannot compare this polish or any of those posted below to anything...... And all of these weird square caps pop off to reveal A NORMAL ROUND BRUSH HANDLE.
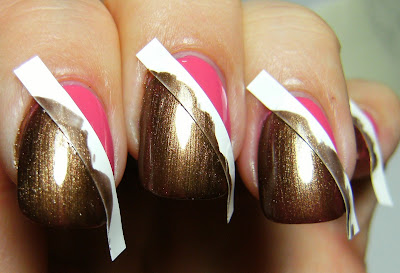
below no TC - I want to get into the habit of taking photos immediately after I paint my nails......

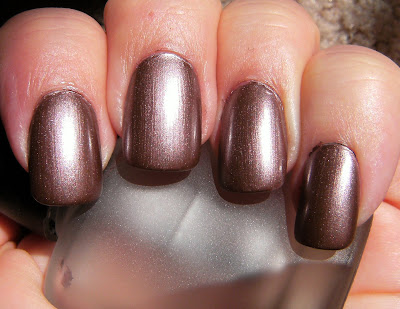
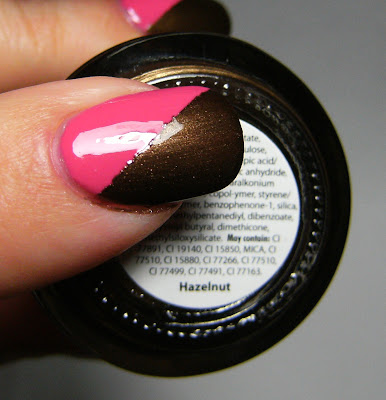
indoor fluorescent

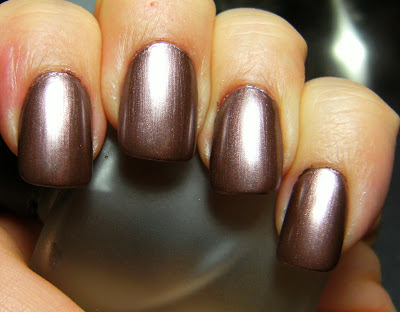
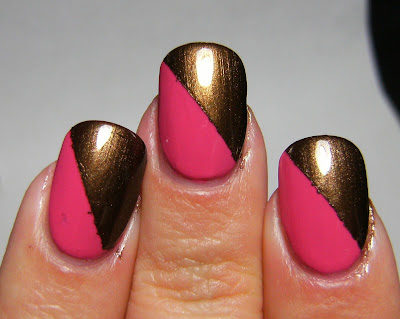
sun

sun

the last polish in this line u p is soooooooo cool! it is a dark purple jelly base with sapphire blue flecks


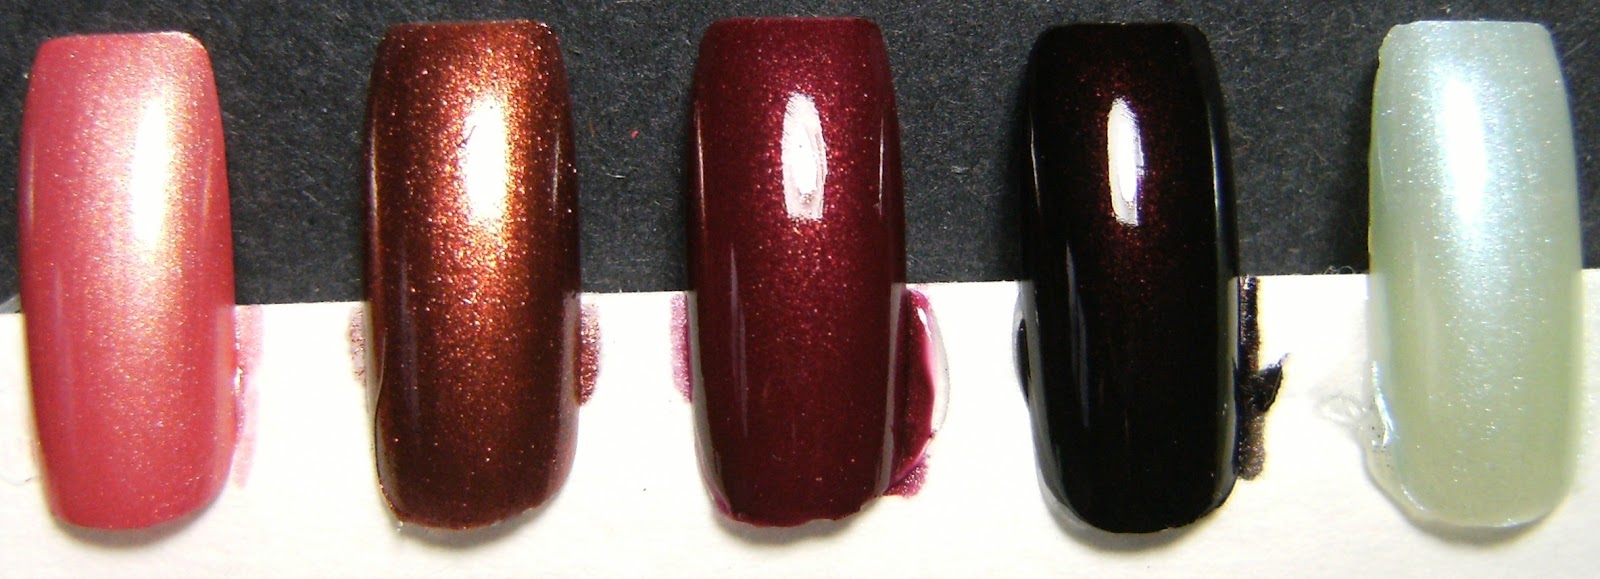

the second last polish on the right is 1 coat! It reminds me of Sinful Colors Rich in Heart.