Showing posts with label Brand - Kozmic Colours. Show all posts

Wednesday, April 16, 2014

sunset diagional


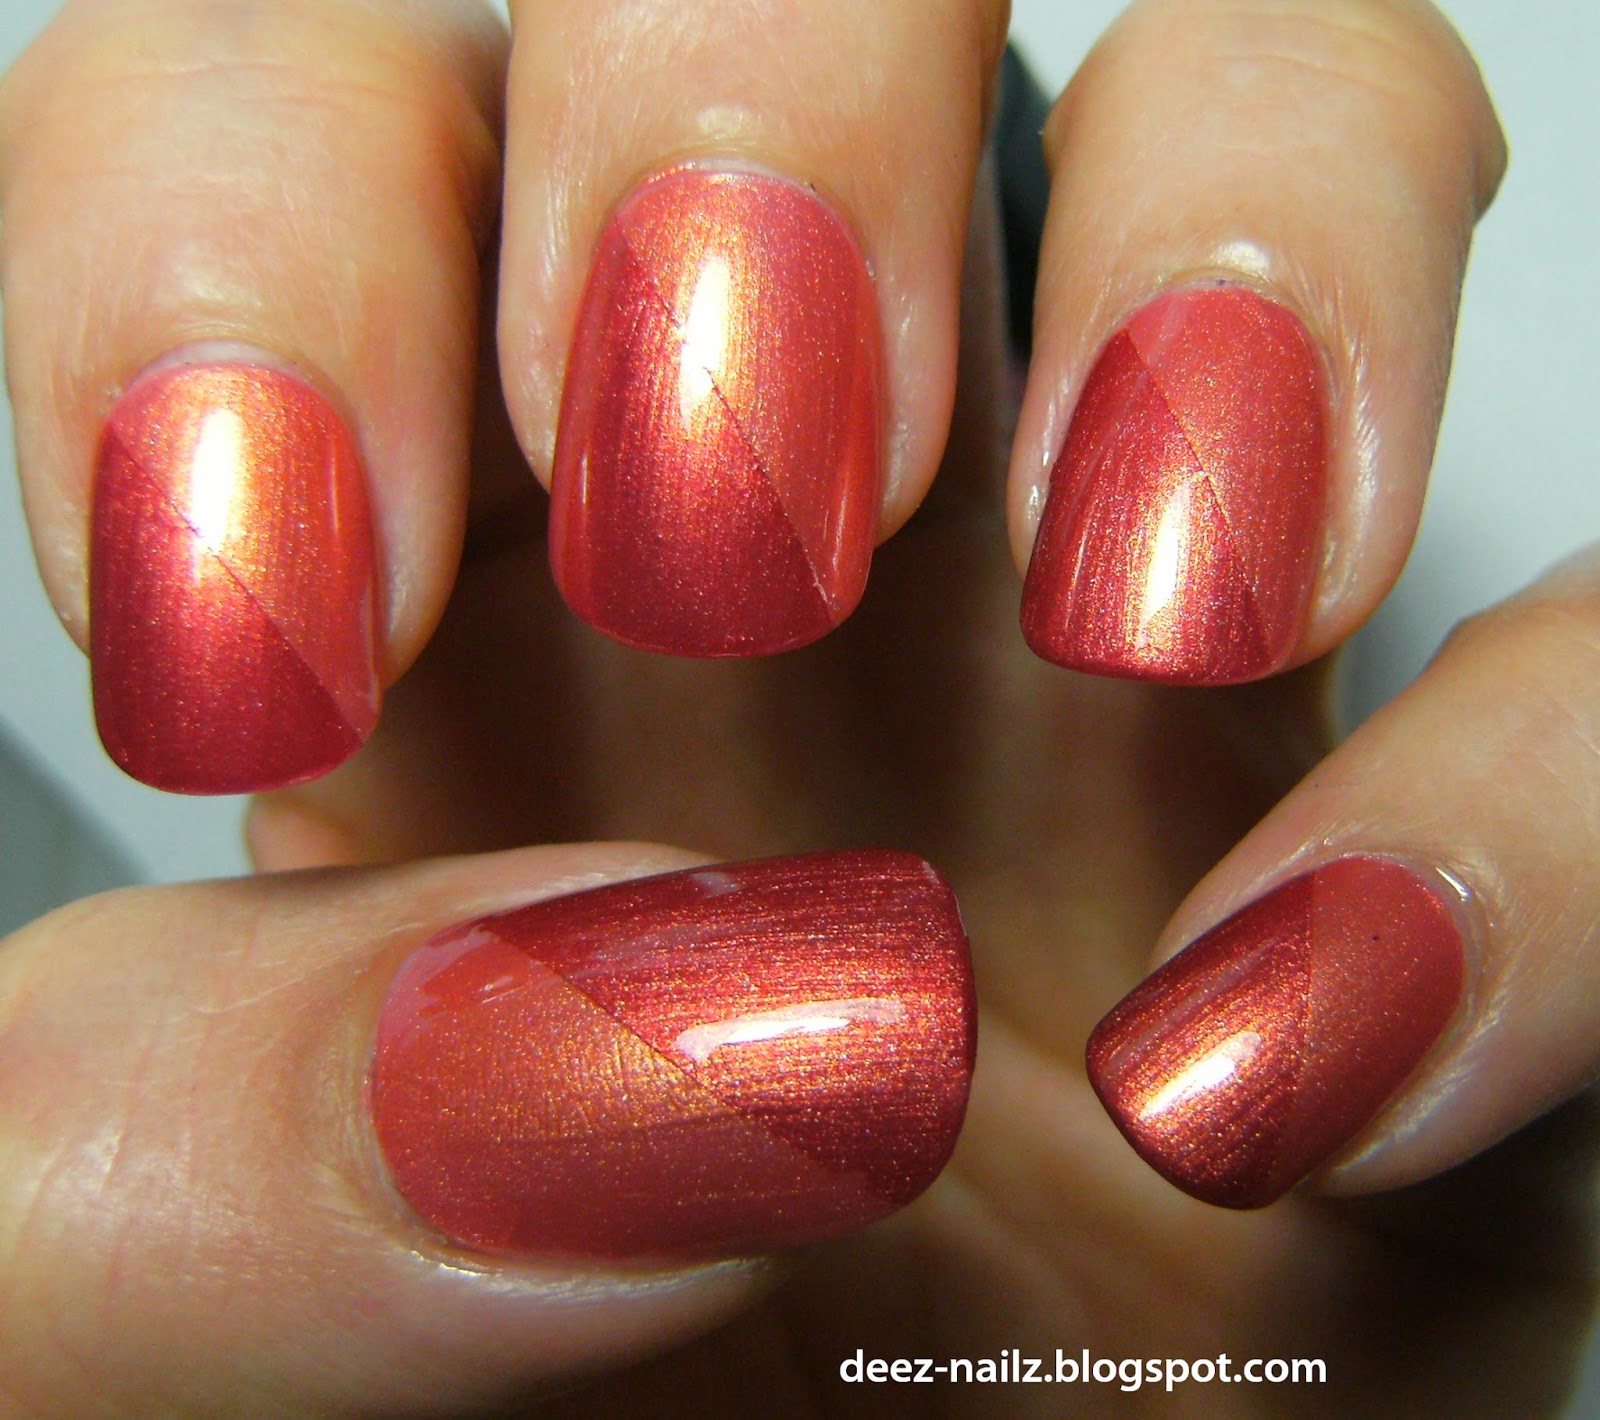
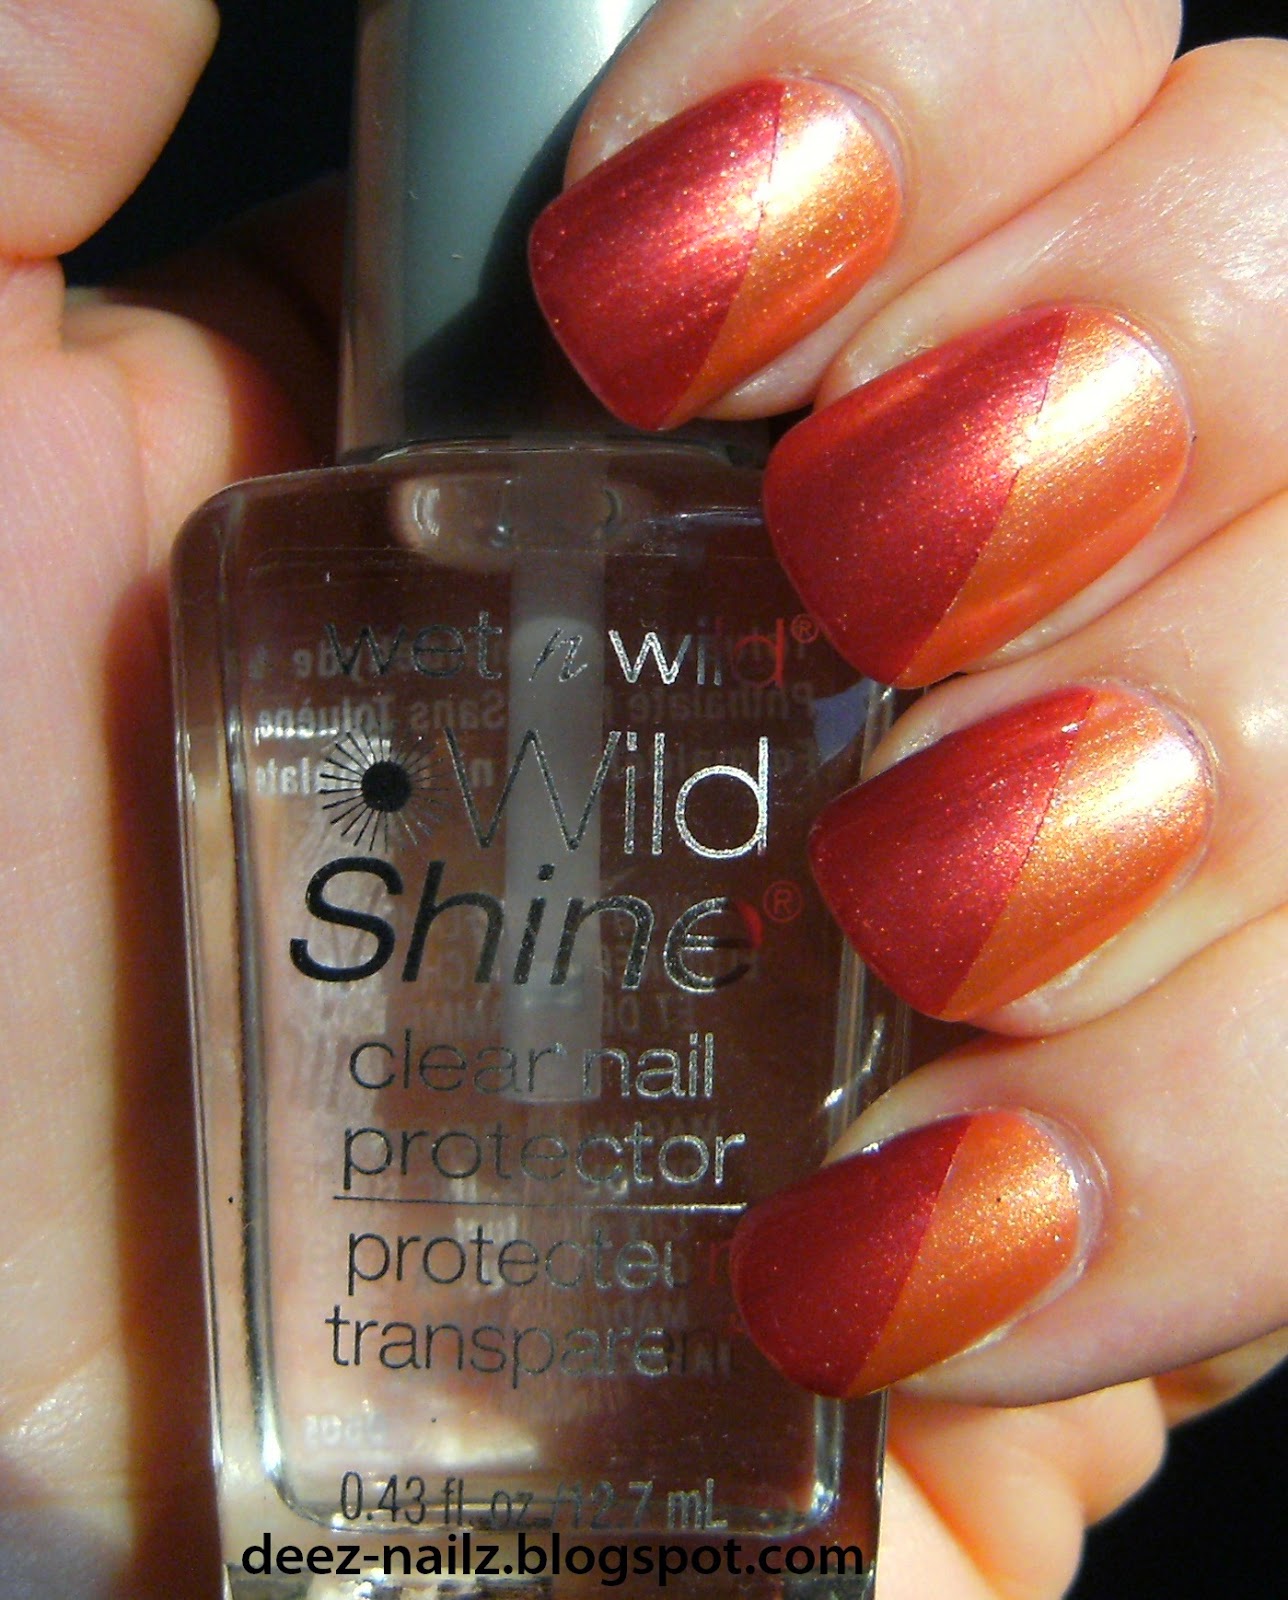
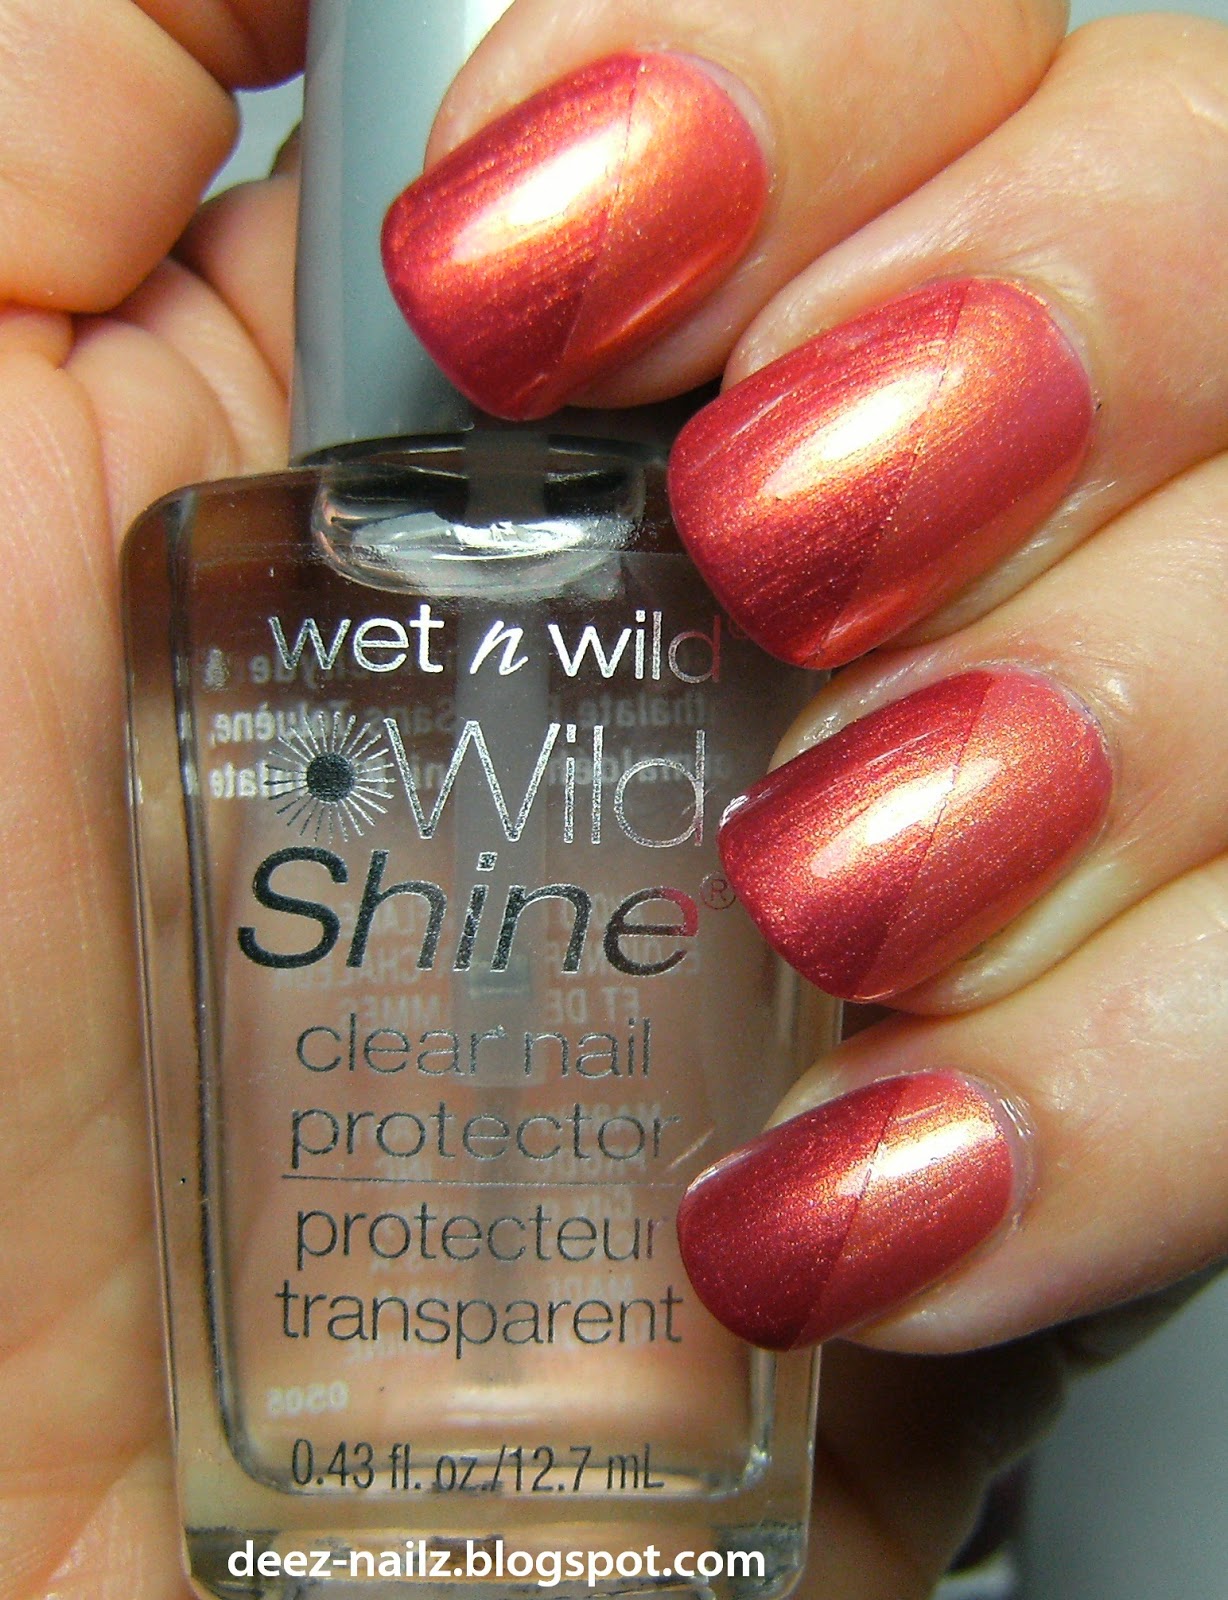
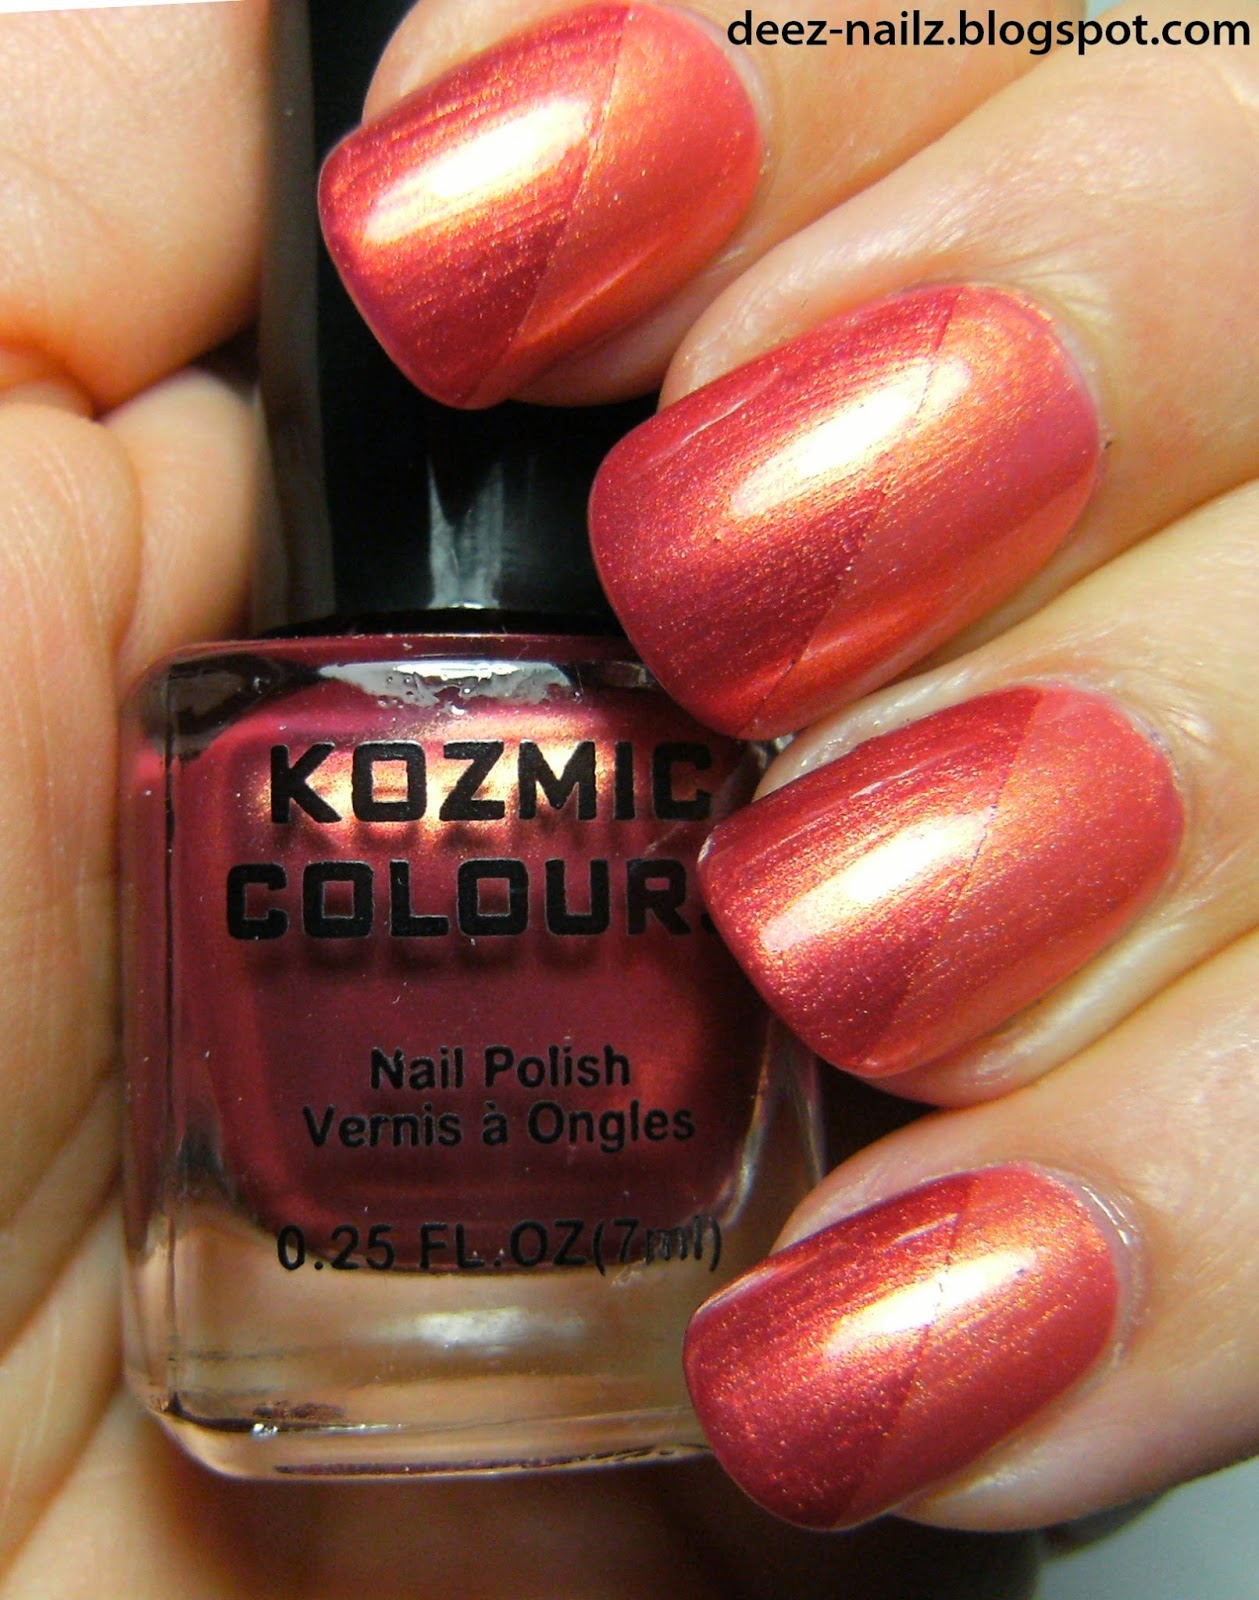
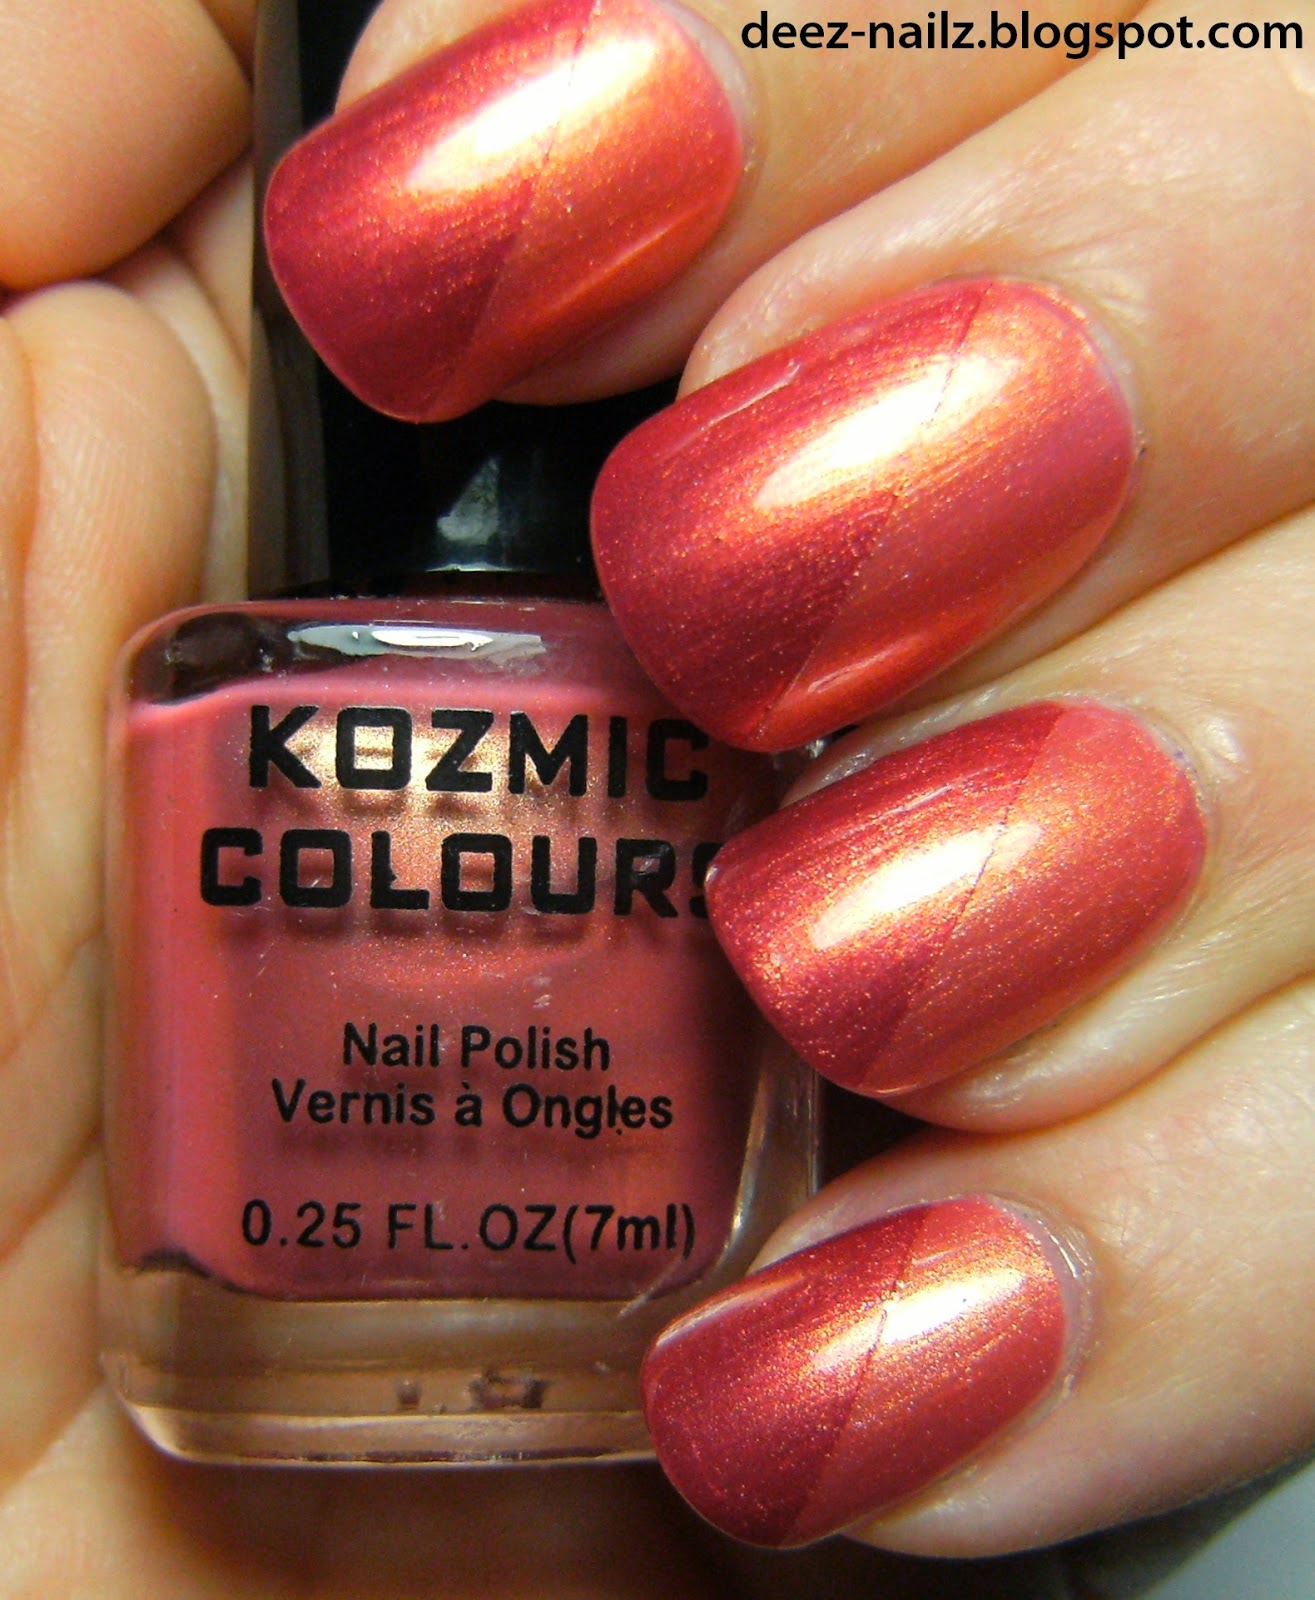
Here is a quick and easy diagonal mani - The base is 3 coats of  a lighter apricot coloured Kozmic Colours polish, with a darker rose/copper diagonal.

For me - this is a plain look, I have a hard time trying to wear coral, orange and peach/apricot coloured polish's; I think the colours are pretty but I never gravitate towards them when it's time to choose a nail colour ( even though I seem to have many of these colours)


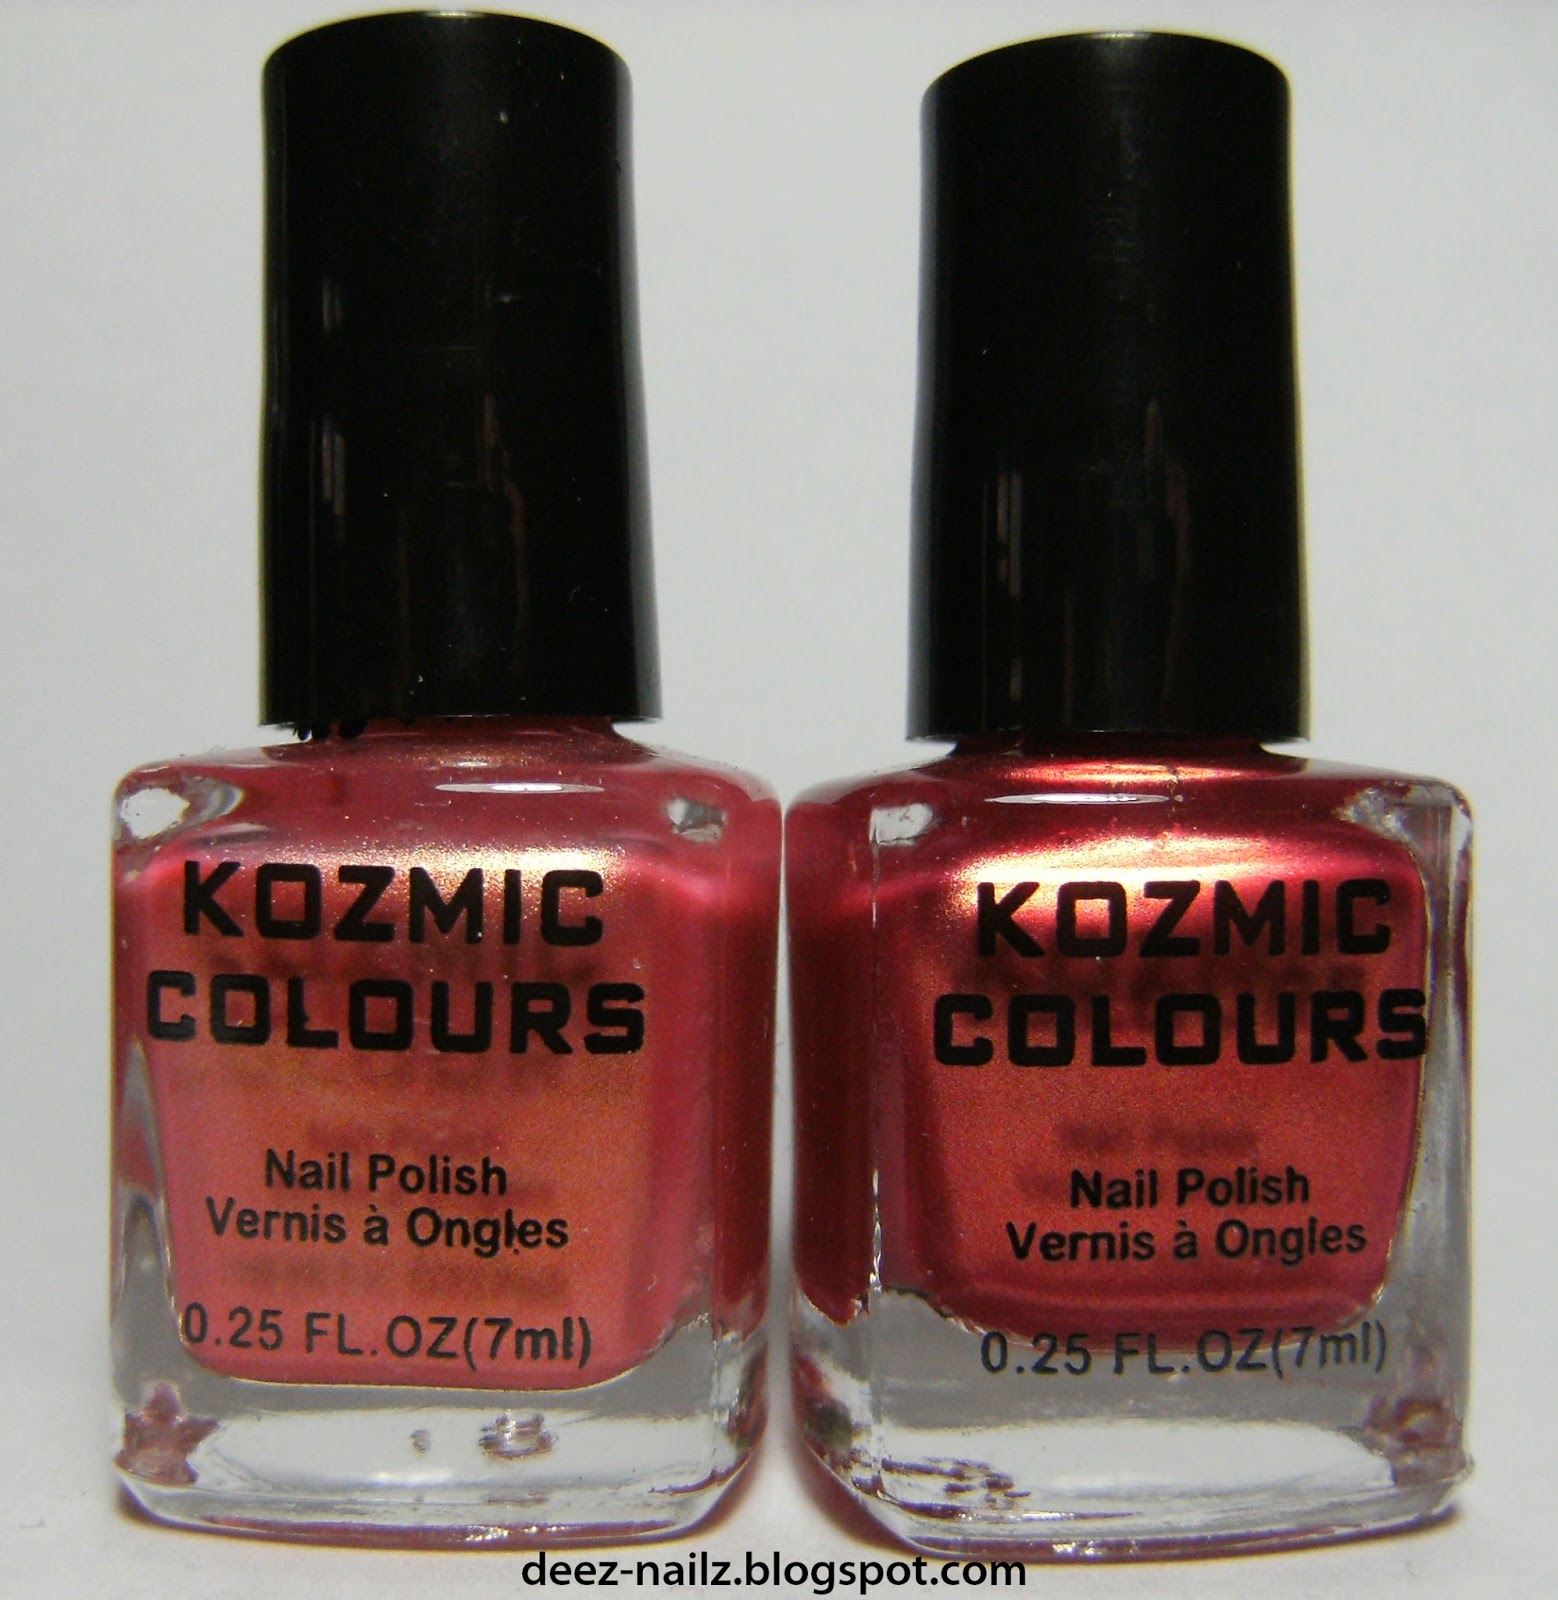
 colours I used


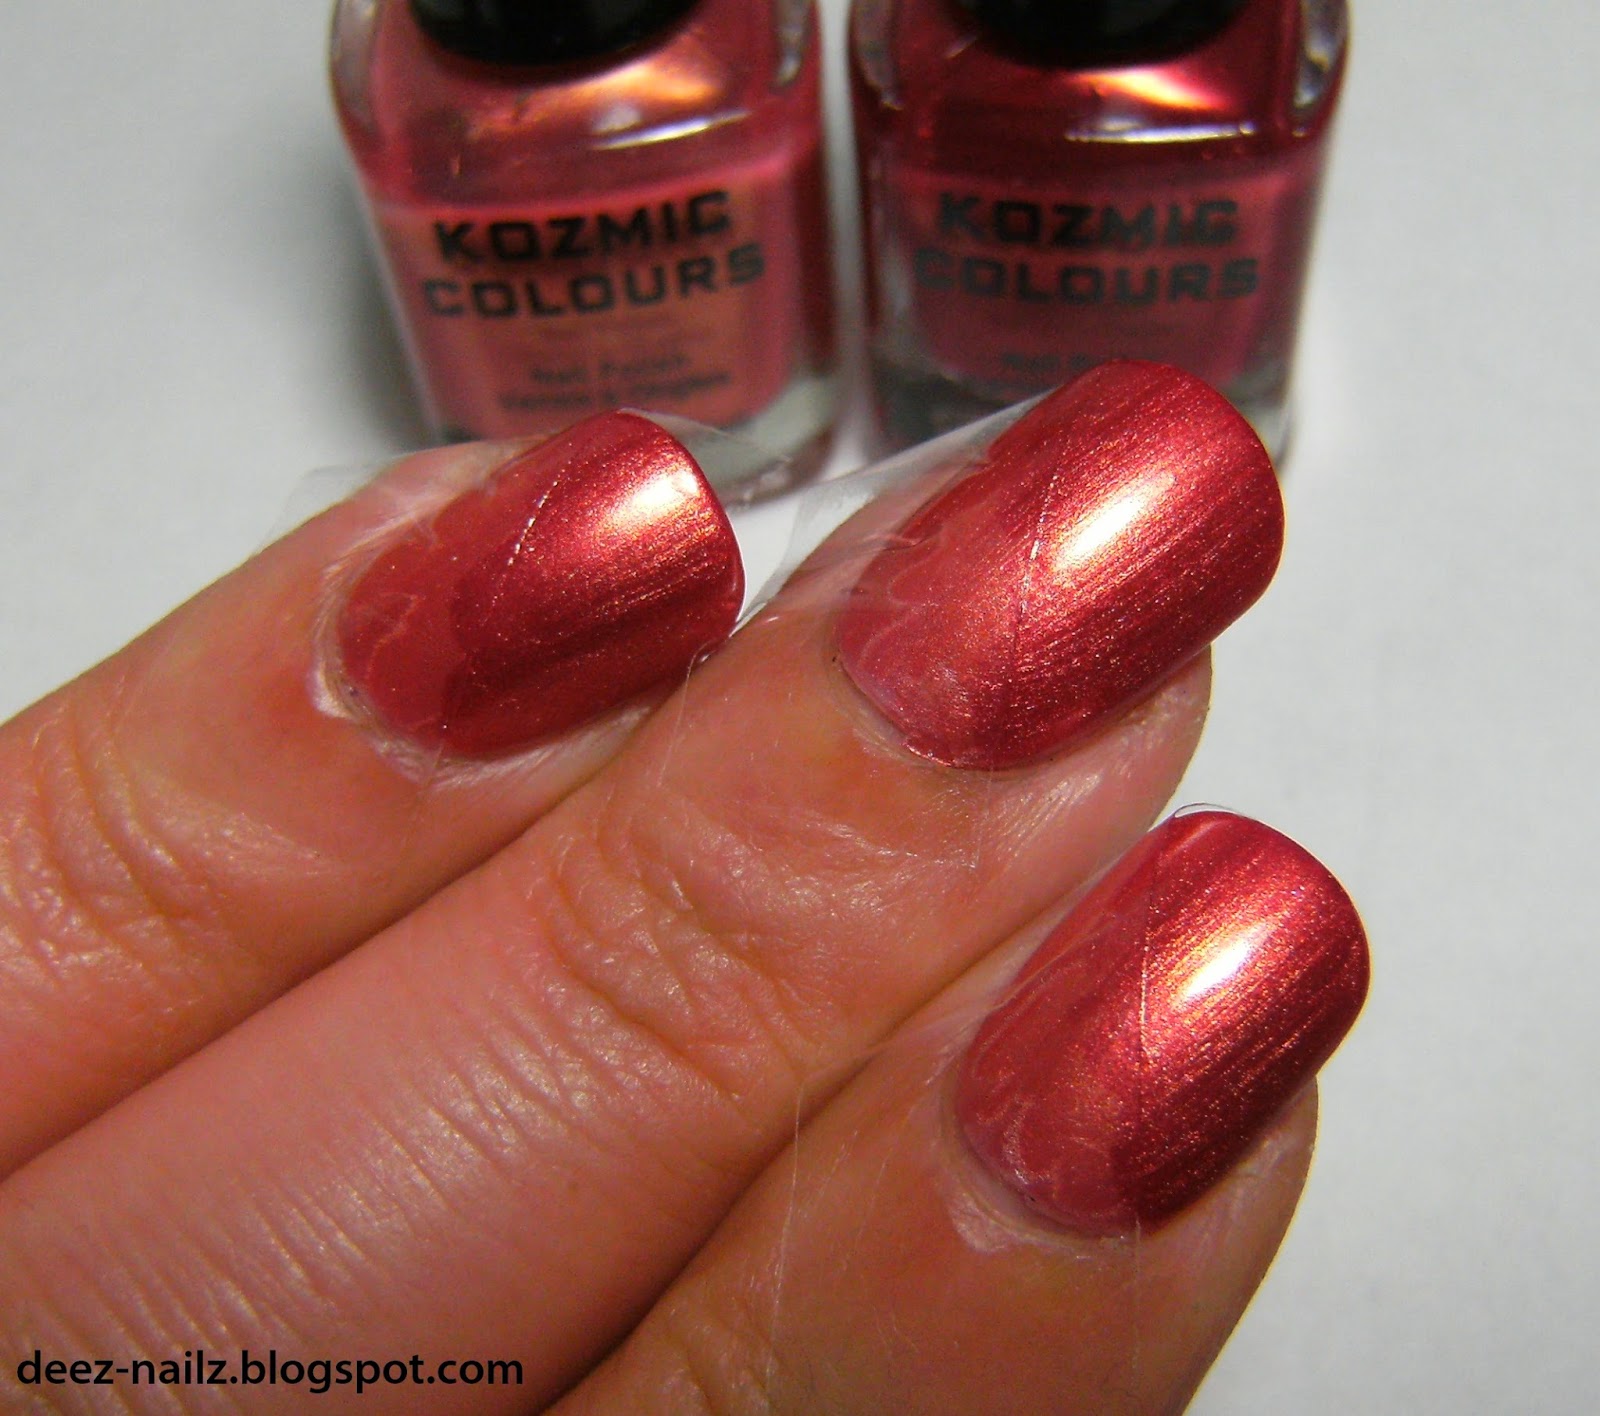
 I just used plain old Scotch tape for this diagonal mani

 Indoors                                             ----------                                    Setting Sun


o


Saturday, April 12, 2014

Kozmic Colours ChG For Audrey close dupe

 Above; Ring nail is China glaze For Audrey -3 coats


This pretty teal from Kozmic Colours is a close dupe for China Glaze For Audrey; the Kozmic Colours polish has more yellow in it but it's pretty close. There is many dupes of For Audrey and they are all beautiful. I used 2 coats of the Kozmic Colours polish ~ I needed 3 for the ChG.

I popped in a Sally Beauty Supply store recently and noted that China Glaze and most of their polish's were buy 2 get 1 free this month (China Glaze rang in at $7.99 when I was there - ouch!!!) I found these Kozmic Colour Polish's at the DollaRama in Canada.... they have some seriously beautiful colours and the formula has been on par with pretty much everyting else I have tried in the last few years.


 L- Ghina Glaze                    @ 2 coats each                       R Kozmic Colours

 crappy indoors shot ~ ChG on my ring nail


 ...... and some nail art. This is easy to do with stripe polish I used 2 different coloured creme striping polish's, a glitter stripe, and finally a blob of Wet n Wild  glitter ( name? )


stuff I used


 o


Thursday, April 10, 2014

Purple Sponge Kozmic Colours


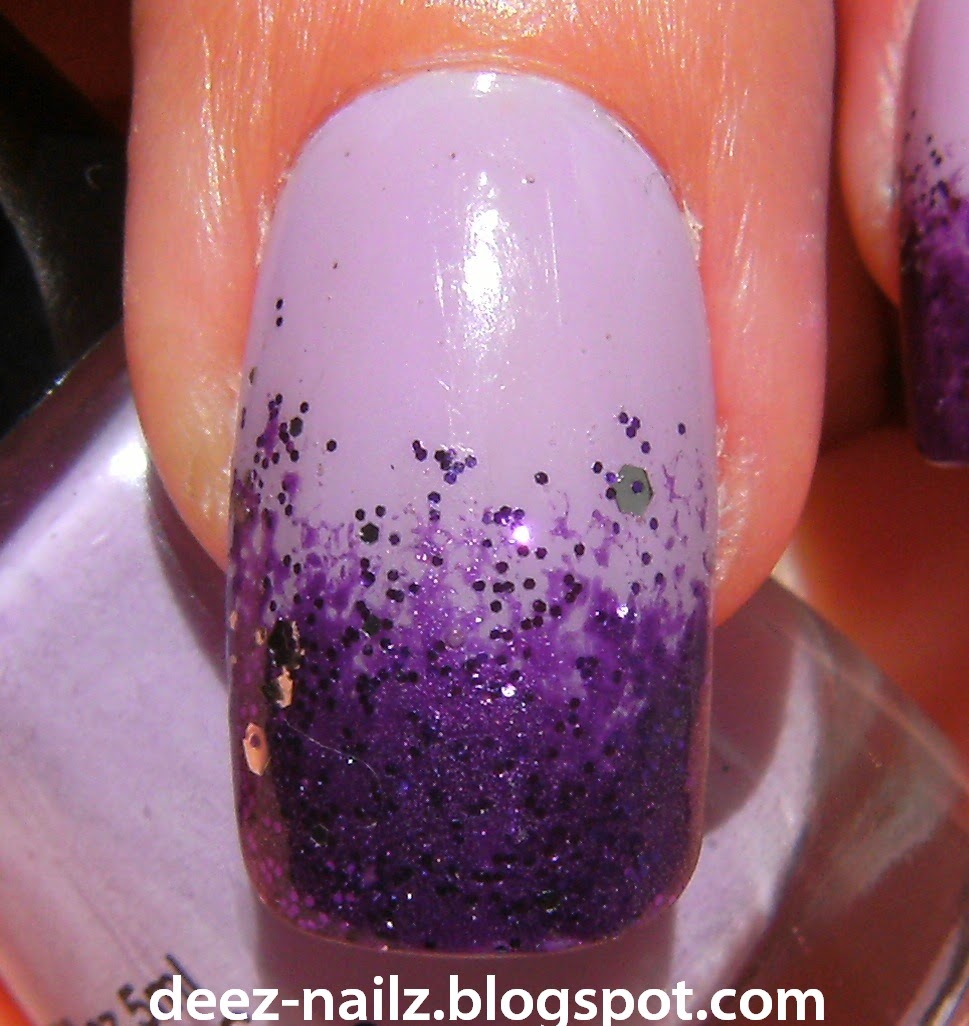
 I love this creamy pastel purple colour! Today's mani is 2 coats of a lovely light purple Kozmic Colours polish. I sponged on a rich metallic dark purple to the tips of my nails, then lightly brushed a coat of dark purple and silver glitter to the tips of my nails.


stuff i used - I thought that the purple/silver glitter comb was weird, like maybe it should be biger purple hex glitter and not silver...... I only used one coat here but i think if I added a few more coats of this glitter the silver hex's wouldnt feel so random; only 3 or 4 ended up on each nail.

 darker purple polish spnoged on..................

sun......... glorious sun
o


Sunday, April 6, 2014

Neon circle nail art with Kozmic Colours


 This circle nail art has been on my mind since I first saw a photo of it on a blog a loooooooong time ago. I have tried to do this circle nail art by dipping a straw in nail polish then trying to apply it to my nails; but it never worked out. Instead of trying it the same way again I created this look by making my own nail art stickers!


Does anyone know whose nails these are? I have done all sorts of googling and nothing comes up. So if anyone recalls whose hand this is please leave a comment so I can link back to the blog post ~ TIA!


Anyhoo-this photo is a few years old so my memory is fuzzy - but they said they dipped a straw in NP to achieve this look.  I have tried it three times and it always looked terrible - especially on my non-hand-model-hand ~ but I love how this looks so I kept trying.


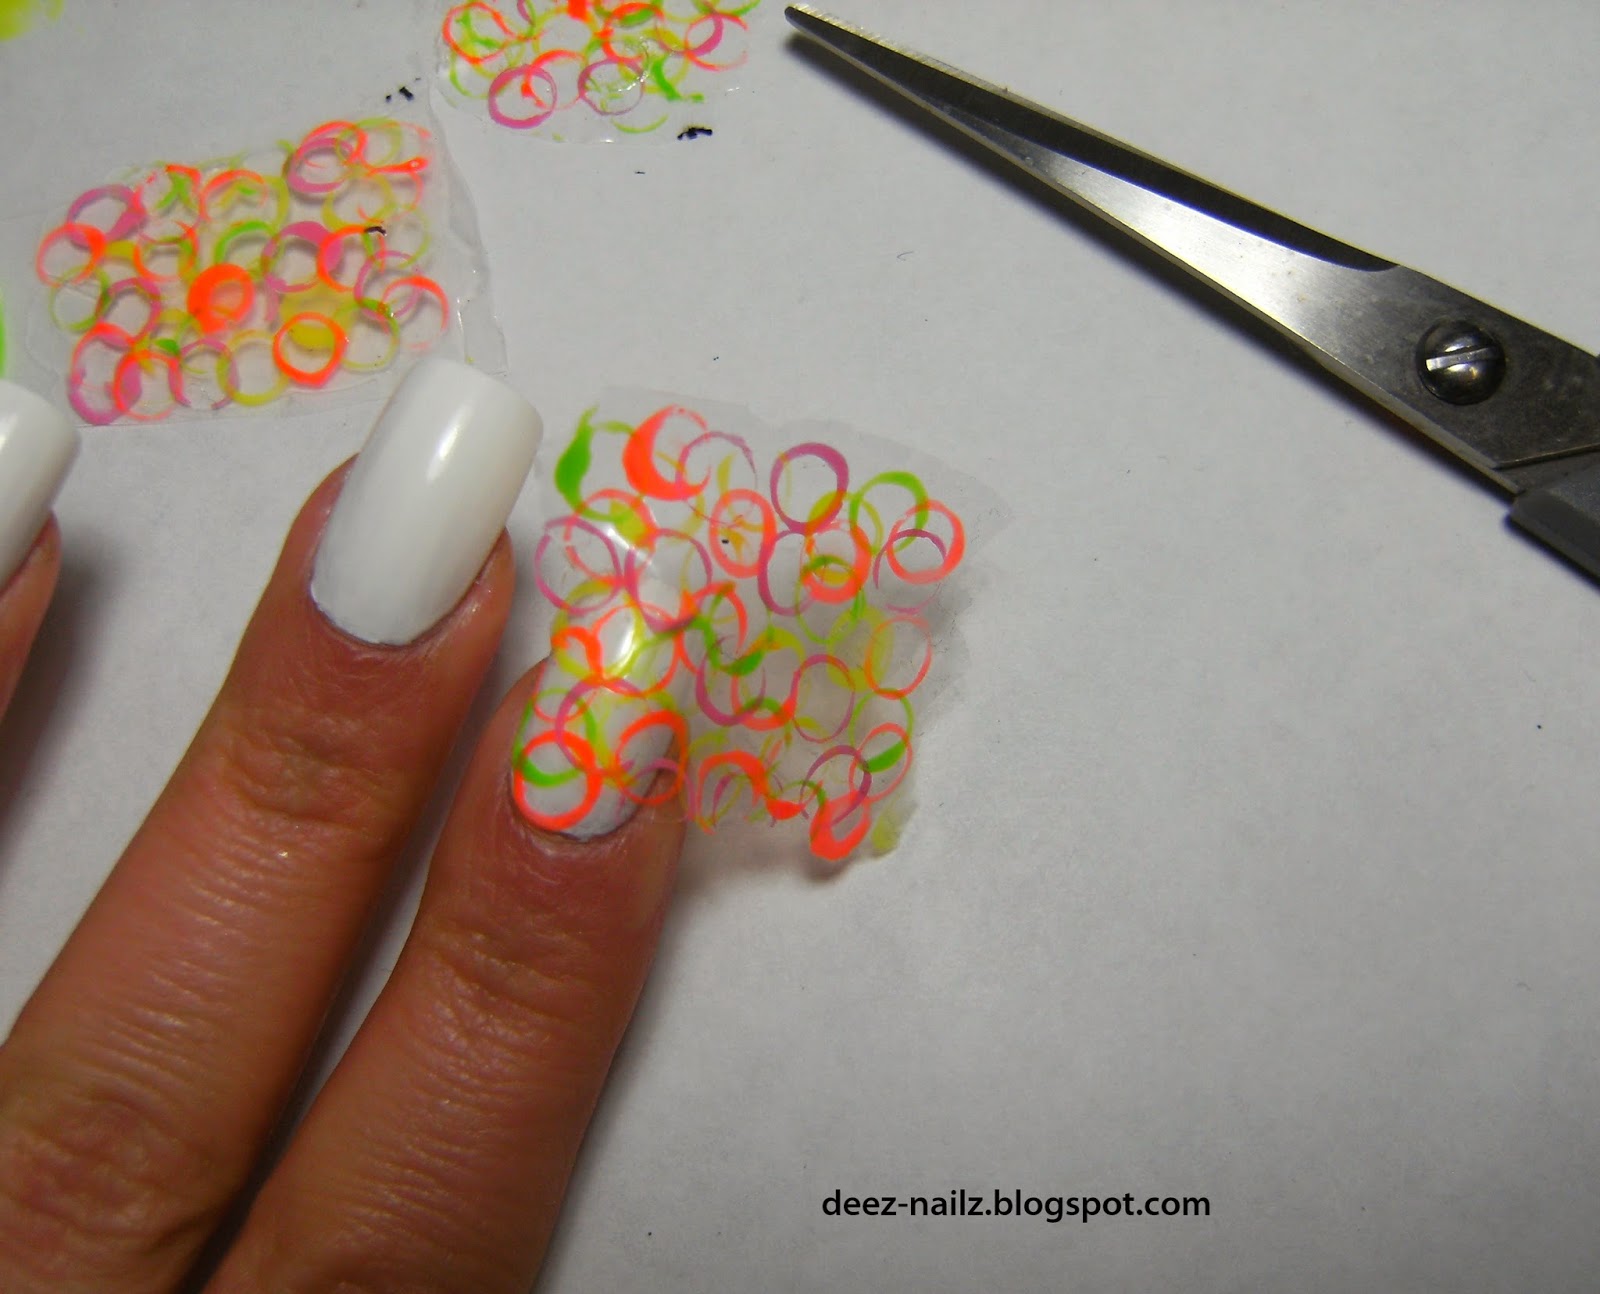
To do it the D.I.Y. nail sticker way; I applied a coat of clear polish on a zip-lock bag ( any kind of clear storage bag should work --- but I recommend a thicker zip lock freezer bag). When the clear base dried, I dipped plastic drinking straws into different coloured polish's and randomly added these multi-coloured circles.  When the coloured polish circles were dry I applied another thick coat of clear polish over them.

I waited overnight to try and apply these DIY nail stickers to my nails. The base polish is 2 coats of Wet n Wild White --- I cut the nail stickers to fit then gently affixed the DIY nail stickers to my nails. I applied a thick coat of Pro-FX Top Coat. I ended up with some bubbles and weird grey marks on my nails but I am still very happy with how this turned out.

This took way, waaaaaaaaaaaaaay longer then just dipping a straw in polish and applying directly to my nails, but whenever I have tried it that way, it never looks good. So even though this is time consuming and needs perfecting, I like it way better than the alternative.


the orange neon polish is throwing my camera off 

 I thought this would be enough for all 10 nails, but it wasn't! These are long trophy wife nails....

stuff I used


 ........not bad for my first try, a couple of things I will do different is make sure I don't cut the sheet too small, like on my thumb nail, and sit still, I banged my nails up trying to do the nails my other hand. I have no idea where or what those dark marks on my middle nail are. I think this is a neat look and I will be trying it again but with a different colour scheme.
o
Monday, March 31, 2014

Red Dotti-Cure


wow ---that Witchcraft red glitter is something else..... it really glows! This mani is a base of Icing Sandy Beach, multi-sized dots made with Kozmic Colours reds, Sally Hansen Red Comet, and Witchcraft Red Glitter. I used a matte Top Coat from N.Y.C. The bland base polish really made this dotti-cure extra special.


before TC


o