Showing posts with label Colors - Taupe. Show all posts

Friday, April 18, 2014

N.Y.C. Big City Dazzle Top Coat

above; 1 coat of NYC Big City Dazzle top coat over 3 coats of NYC Park Avenue.

This is a nice multi-coloured glitter top coat -- I wore it for 2 days and it stayed shiny. I probably should have added a few more coats but I kinda liked the sparse-ness of glitter ( that feels so wrong to write that). These are my real nails~I'm working on some beaded jewelery this weekend.


This is the old 'big city dazzle'. Its a frosty monstrosity that need 3 to 6 coats. The colour is pretty but I prefer my polishs's to be opaque in 2 to 3 coats.


New York Color does this with a lot of their polish's = creating an entirely new colour but keeping the same name.


here is a side-by-side of the two polish's. Its odd that they keep the same name, there is literally thousands of New York themed names they could use.


 I love N.Y.C. polish's....the only complaints I have is a few of them are too sheer for my liking, but that's hardly anything to complain about.


I have 3 or 4 N.Y.C. polish's that have changed colours but kept the same name, or polish's that don't really jive with their names.


... and here is the modern NYC Park Avenue, 3 coats


sun...... glorious sun
o

Friday, July 13, 2012

Sinful Colors - Excellence in layering pt. 1


I loooooooove the glitter and flecks of Gold in Sinful Colors All About you. Here I have layered it over Sinful Colors Nirvana and Wet n Wild The Gold and The Beautiful.

Polishes I used 


Sinful Colors Nirvana, an easy to apply Mushroom Taupe. This was 2 coats with a third light touch up coat.


 I added 1 coat of Wet n Wild The Gold and the Beautiful


 and finally Sinful Colors All About You


These beautiful Tiger lilys are in a neighbors garden are a striking technicolor orange - I snapped a whole bunch of photos of this plant. My mani below is Sinful Colors Rich in Heart, followed by Sally Hansen Nail Prisms in Ruby Emerald and a coat of ColorRama in Frosty Pink

I like how in this photo the 'firey Embers' of frosty pink really show up

2 coats of Sinful Colors Rich in Heart 

Sinful Colors Rich in Heart with Sally Hansen Rudy Emerald

...... and a coat of ColorRama Frosty Pink

 stuff i used  Sinful Colors Rich in Heart, Sally Hansen Ruby Emerald and ColorRama Frosty Pink
o


Friday, November 25, 2011

DOTS!


Hmmmmm, the last time I tried this type of dotting it didn't turn out as nice. The base is 2 coats of Icing Putty Concrete, and dots made with Icing Sandy Beach, Hazelnut and Bordeaux and 1 coat of TC.

I made the dots with a dotting tool and tried to have various sized dots. The colours I chose are a nice reflection of the gloomy weather and dingy scenery outside today. I will be painting my nails in bright cheerful colours this evening - Happy Friday everyone!


Icing Putty Concrete, Sandy Beach, Hazelnut, Bordeaux

o


Saturday, June 25, 2011

lather, rinse, repeat - a henna tattoo looking mani


above; index ~ below; middle nail


I thought I did this look at least 6 months ago - but I did this just last month...... I called it 'peas in a pod' manicure, but it does look more like a henna tattoo pattern. I wanted to try again; using the stripe polish and different size dots and it turned out lovely.


There really isn't much to add to this, so if you need more info, please read the other post HERE. I started off with a base of Avon Bare Necessity, and sponged on Billie Cosmetics Turquois ( lol -it is a light pink with grey tones) I used a black stripe polish, then using a dotting tool I added some shimmery medium purple dots in varying sizes.


I applied top coat on a few nails for a refernce to how TC smoothes out lumps and bumps and helps blend together a sponged look in a photo below. It is amazing how a top coat can smoothe out a lumpy textured polish, doesnt always work on gritty glitters, though.

I used matte top coat for this. I find that whenever I do fancy nail art, and use a shiny top coat I can never get a good photo of the design, so from now on I think I will try to take a photo of my designs with matte top coat.....


this is immediately after i applied the matte TC when it was still wet - so its shiny


stuff I used;
Avon Bare Necessity, Billie Turquois, Black stripe polish, Billie Purple, Claire's Matte TC


my thumb, middle and pinky nails have top coat, the rest are just the sponged on polish


so I cheated! I brushed on the two colours first, then sponged.....

I drew my flower petals or leaves or whatever these are supposed to be


Then added these shimmery purple dots


Avon Bare Necessity


the black stripe polish from The Bargain Shop Canada


... and one more photo!
o


Wednesday, February 9, 2011

a copy of a copy...... with a *proper* GIF


This is a copy, of a copy. I first saw this on Dee's Polish Endeavors HERE, where she replicated another fabulous mani. Although the art deco stripe polish brush is thin and workable, I think I need to use something much thinner, possibly the 'stripe rite' brand of polish in the future to get a very thin line.

This is 3 coats of a franken I made, followed by the black strip polish, I added some Billie Purple Rain dots, and some clear and pink crystals I did not add TC to this, I kinda liked how it had a low sheen.

I love crystals and rhinestones, but I have this terrible, terrible urge to touch then all the time and want to pick them off - I think I'll have to get back to large pieces of glitter and nail stickers.


my awesome franken

LooGix has been a good gif make for me... hope this comes across alright. Since I am painfully terrible at writing instructions, I want to add more gif's instead of a massively loooong post. It is fun to try new things with blogging, I would love to make more nail art videos in the future as well.

Gif maker
Gif maker


art deco stripe polish in black

Billie Purple Rain


Monday, January 17, 2011

SH Chrome Turquoise, Icing Sandy Beach & Art Deco silver stripe


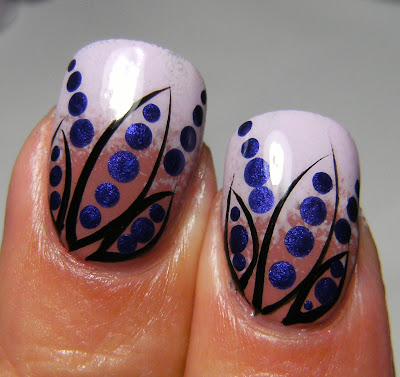
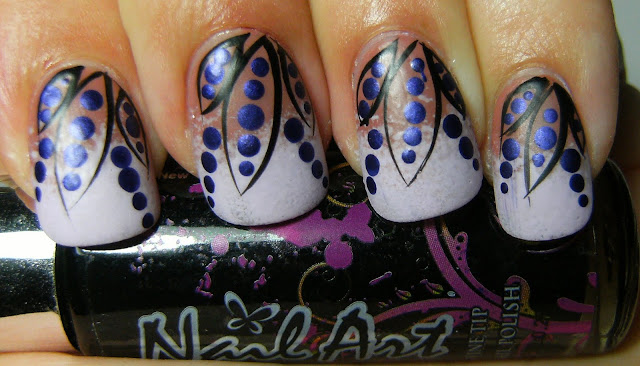
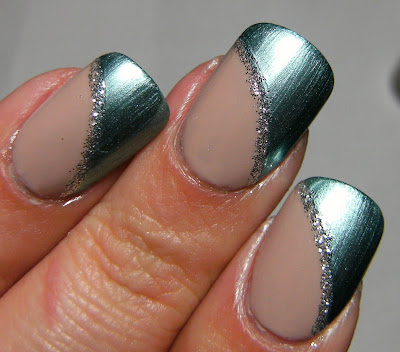
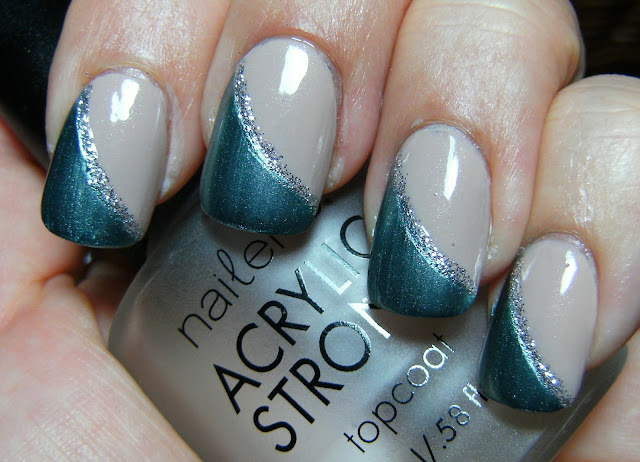
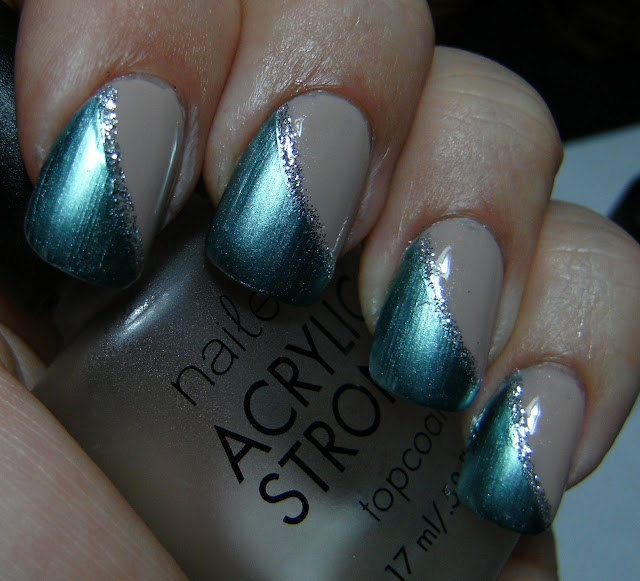
This is my 'go-to' nail art when I can't think of something to do for my mani's. I started with 2 coats of Sandy Beach from Icing ( by Claire's ), then applied Nailene French Tip Guides on the diagonal across my nail, added 1 careful coat of an older Sally Hansen Polish called Turquoise, for their chrome collection  IN A SQUARE BOTTLE, I remove3d the french tip guides and traced where the two polish's meet with Art Deco silver glitter. When I was certain it was 'sorta' dry, I applied a coat of Nailene Acrylic Strong Top Coat.

This is a super-duper easy look to achieve, further on in this post is a terrible free-hand funky french I tried to do = FAIL! I can pull off a chevron french manicure just fine - but a regular french manicure I cannot do! So hats off to those who can do that♥


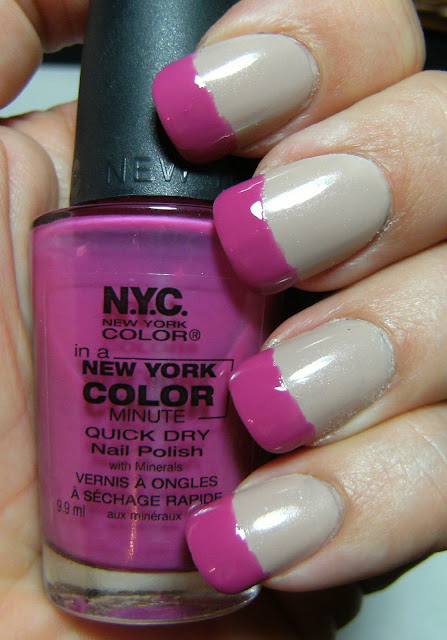
LOL- half way through my nail art - i like how my fingers look all clumsy grasping the bottle


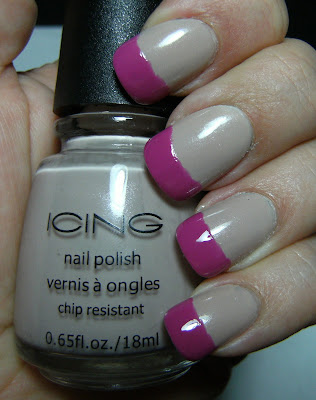
my ONLY photo with TC - my camera died 1/2 way through my photos!


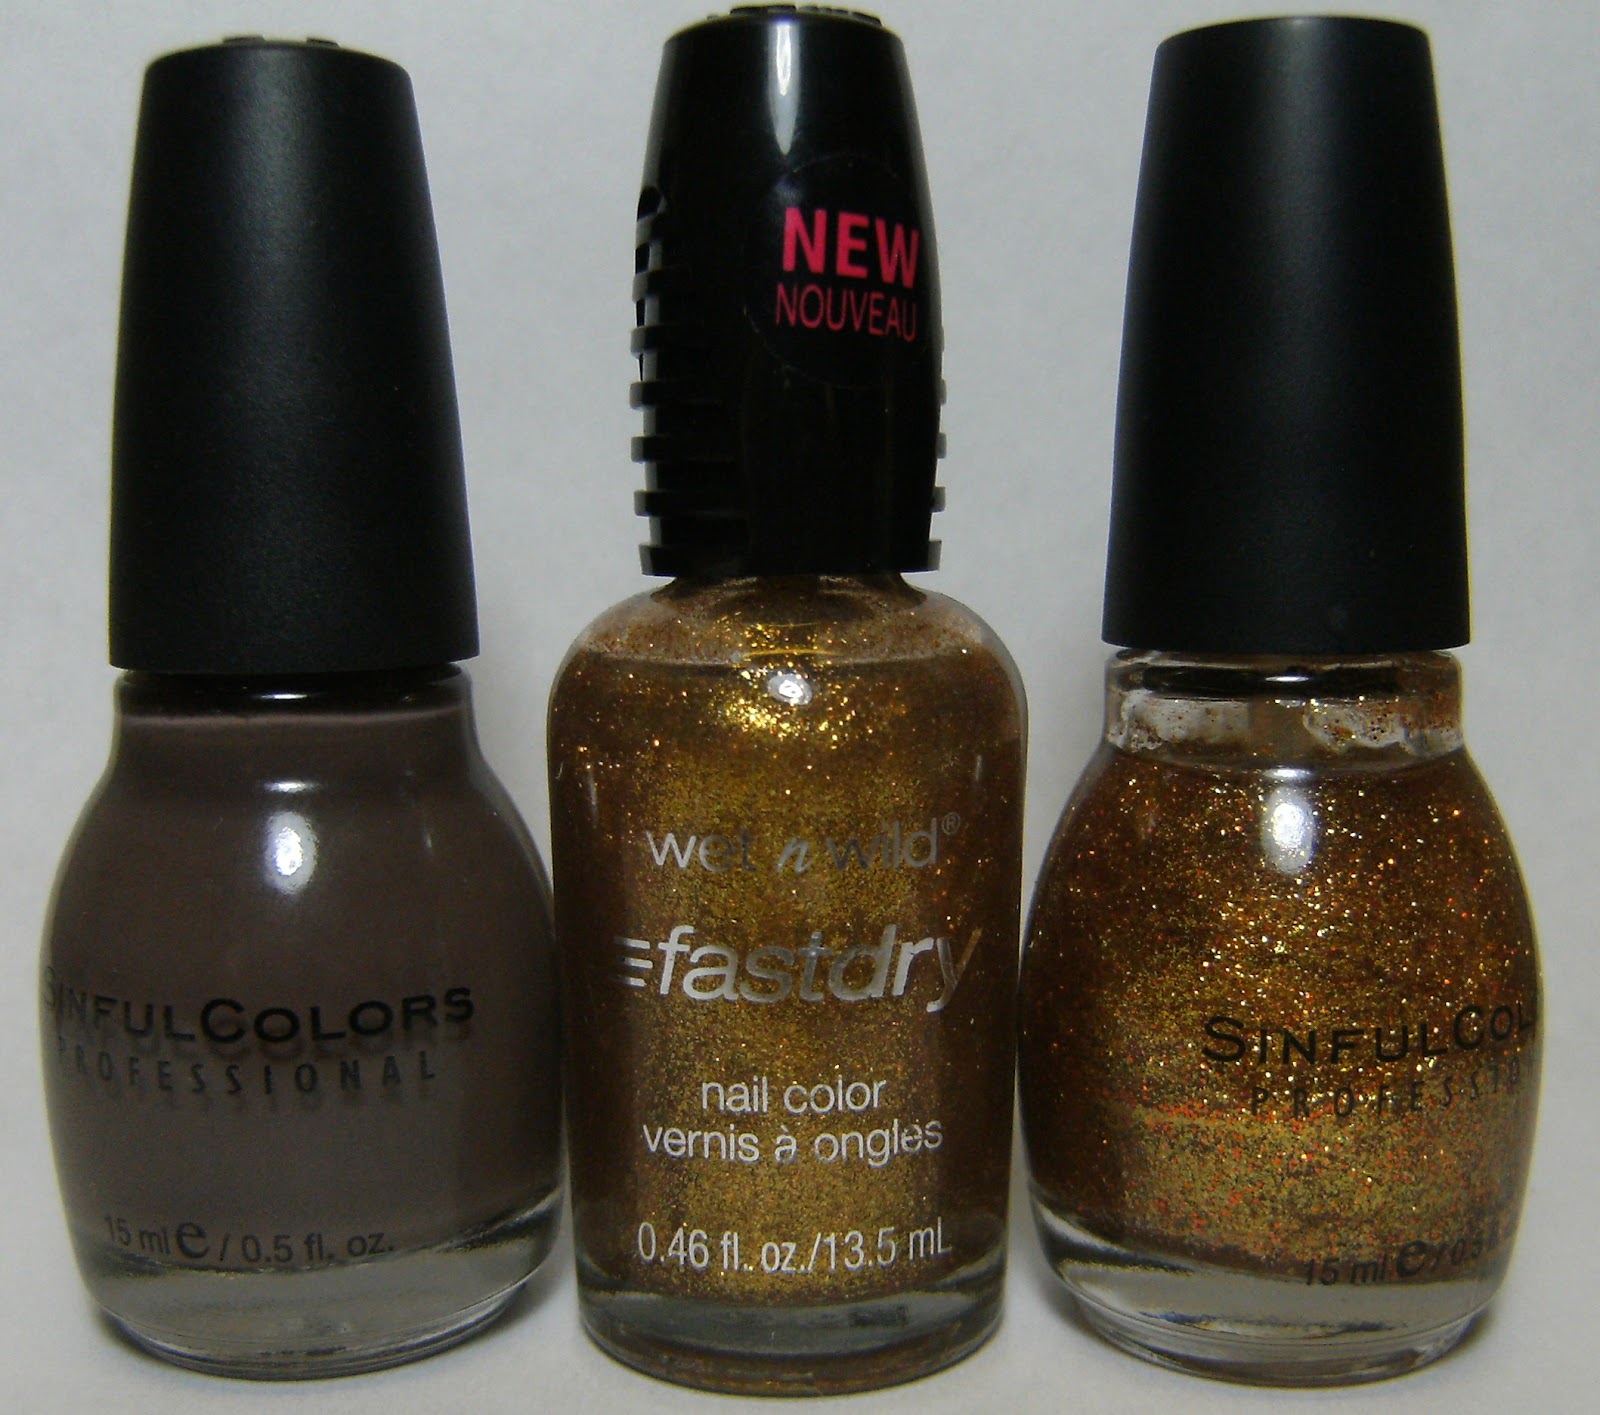
w/ Sally Hansen Chrome in Turquoise IN A SQUARE BOTTLE!!!!!!

LA Colors Art Deco silver stripe glitter - a fine silver glitter

another angle.....


........dim mysterious lighting

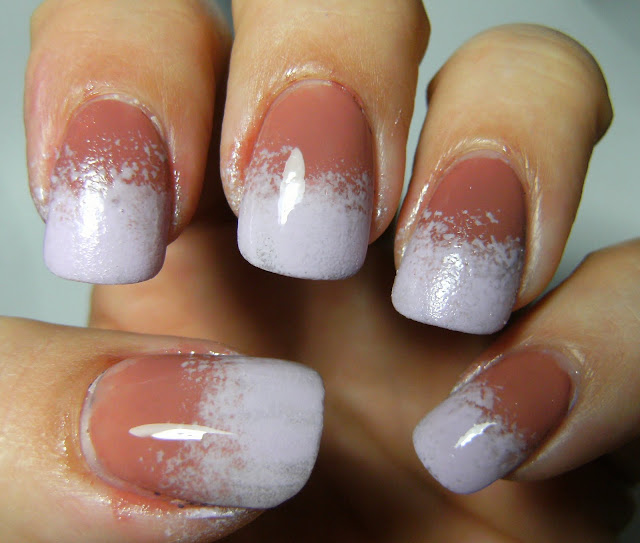
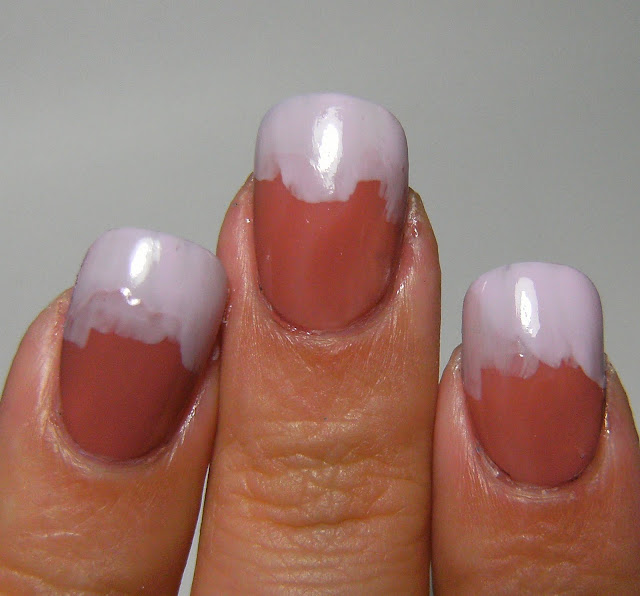
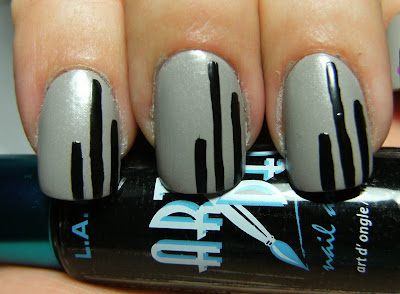
..... and a fail I though I would share, I started with 2 coats of Icing Sandy Beach, then tried to free-hand a french mani - NOT HAPPENING, I planned on adding Wet N Wild Sparked because I knew it would help disguise the line and it is a fabulous pink glitter, but it was very thick and ruined this mani further - so I took it off and did something else instead. I'll have to pick up another bottle of WnW sparked very soon - I have had that for a looooooong time and I must have left it open at some point....

I will keep practicing though, if it is a straight line, I can do a decent job without tip guides, but if it is in the least bit outta whack, or it looks woobly or wavy I will stare at it all day, and it will drive me nutz!!!! I cover it up with glitter or just remove it. So now I just use tip guides, mailing labels, tape or whatever I have to try to create a pretty perfect mani.